Customer Groups: Difference between revisions
(Categorisation of document pages) |
(Categorisation of document pages) |
||
| (2 intermediate revisions by the same user not shown) | |||
| Line 1: | Line 1: | ||
This is the Customer Groups maintenance page. Customer Groups are used to link the customers together for easier filtering and configuration. | This is the Customer Groups maintenance page. Customer Groups are used to link the customers together for easier filtering and configuration. | ||
| Line 9: | Line 6: | ||
<gallery widths=600px heights=340px perrow=1> | |||
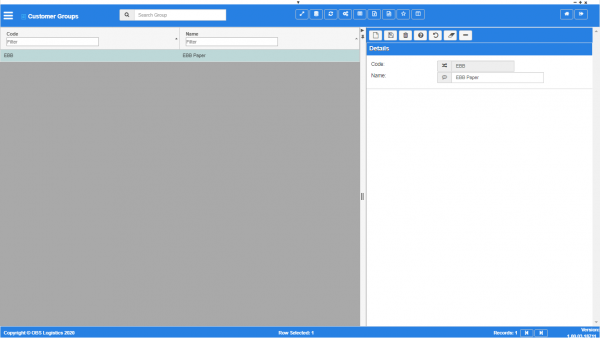
Image:CTLTMS_Customer_Groups.png|''Customer groups maintenance'' | |||
</gallery> | |||
List of fields displayed: | List of fields displayed: | ||
| Line 26: | Line 23: | ||
Use the {{Button|Save}} button to save the entered or edited details. {{Warning}} If you do not save your work, your changes will be lost | Use the {{Button|Save}} button to save the entered or edited details. {{Warning}} If you do not save your work, your changes will be lost | ||
[[Category:Maintenance | [[Category:Maintenance]] | ||
[[Category:Organisation Data | [[Category:Organisation Data]] | ||
[[Category:UG 331692 CTL-TMS Reference Guide| | [[Category:UG 331692 CTL-TMS Reference Guide|220-{{PAGENAME}}]] | ||
Latest revision as of 15:43, 21 January 2020
This is the Customer Groups maintenance page. Customer Groups are used to link the customers together for easier filtering and configuration.
This page starts finding data - enter your query from your configured filter fields.
Results are displayed in a table and are automatically displayed if there are only a few details.
Customer groups maintenance

List of fields displayed:
- Code - Group Code.
- Name - Group display name.
Editing one of the records can be done by clicking on a row - the selected line data will be loaded into the details panel for editing.
Adding a new record can be done by opening the detail panel and clicking the ![]() New button - all fields are required.
New button - all fields are required.
Use the ![]() Save button to save the entered or edited details.
Save button to save the entered or edited details. ![]() Warning: If you do not save your work, your changes will be lost
Warning: If you do not save your work, your changes will be lost