WHS1910: Difference between revisions
No edit summary |
m (Minor formatting change) |
||
| Line 1: | Line 1: | ||
The despatch confirmation screen allows the user to ‘despatch’ the order from the warehouse. In system terms, the stock will be removed from the marshalling location and warehouse. A negative stock transaction will take place with a type of ‘Sale’. | |||
{{Incomplete}} | |||
The screen is located in Warehousing > Sales Allocation & Picking > Despatch by Route/Load | The screen is located in Warehousing > Sales Allocation & Picking > Despatch by Route/Load | ||
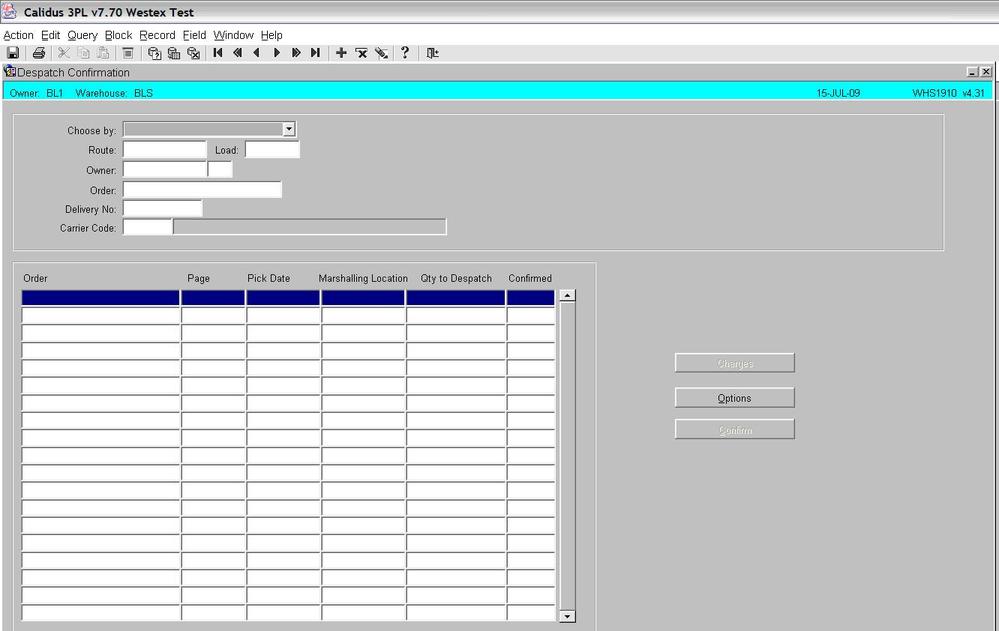
The standard screen is shown below: | The standard screen is shown below: | ||
| Line 13: | Line 14: | ||
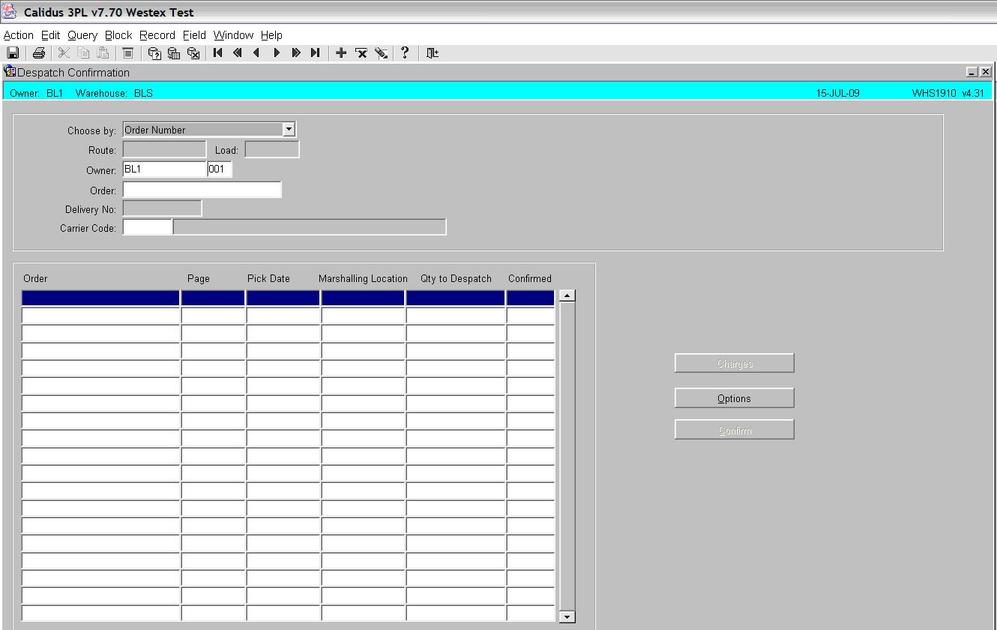
To despatch a route or order you must first select either ‘Route/Load’ or ‘Order Number’ from the drop down box (see screen shot below): | To despatch a route or order you must first select either ‘Route/Load’ or ‘Order Number’ from the drop down box (see screen shot below): | ||
| Line 22: | Line 24: | ||
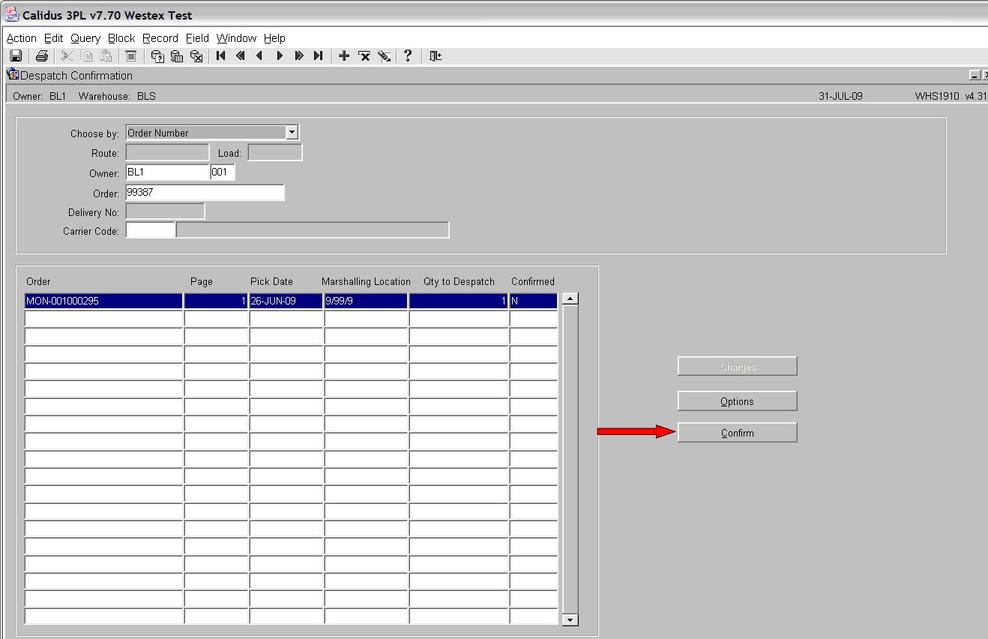
To despatch the order, press the ‘Confirm’ button (see screen shot below) | To despatch the order, press the ‘Confirm’ button (see screen shot below) | ||
| Line 37: | Line 40: | ||
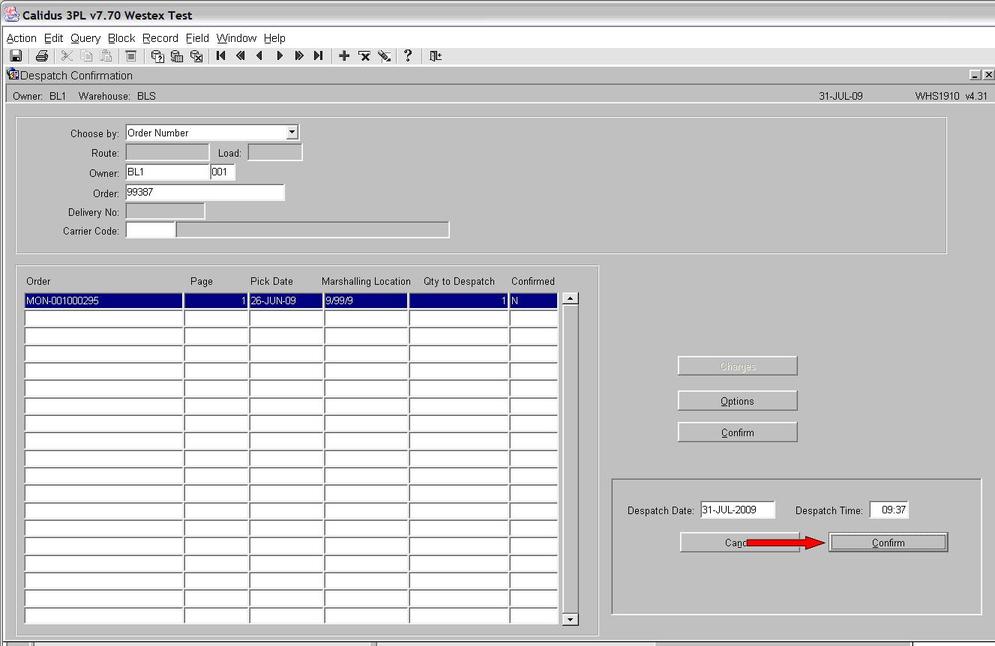
Press the ‘Confirm’ button to confirm the despatch. | Press the ‘Confirm’ button to confirm the despatch. | ||
[[Image:rsz_despatch_conf5.jpg]] | [[Image:rsz_despatch_conf5.jpg]] | ||
The order has now been despatched and will have a system status of 9. | The order has now been despatched and will have a system status of 9. | ||
Revision as of 15:11, 24 June 2025
The despatch confirmation screen allows the user to ‘despatch’ the order from the warehouse. In system terms, the stock will be removed from the marshalling location and warehouse. A negative stock transaction will take place with a type of ‘Sale’.
![]() Warning: This is an incomplete guide.
Warning: This is an incomplete guide.
The screen is located in Warehousing > Sales Allocation & Picking > Despatch by Route/Load
The standard screen is shown below:
To despatch a route or order you must first select either ‘Route/Load’ or ‘Order Number’ from the drop down box (see screen shot below):
Enter the order number you wish to despatch and press the ‘execute query’ button.
To despatch the order, press the ‘Confirm’ button (see screen shot below)
The system will now require a date and time (these can be in the past). If you press the ‘TAB’ button over each of the fields the date and time will default to the current system date/time.
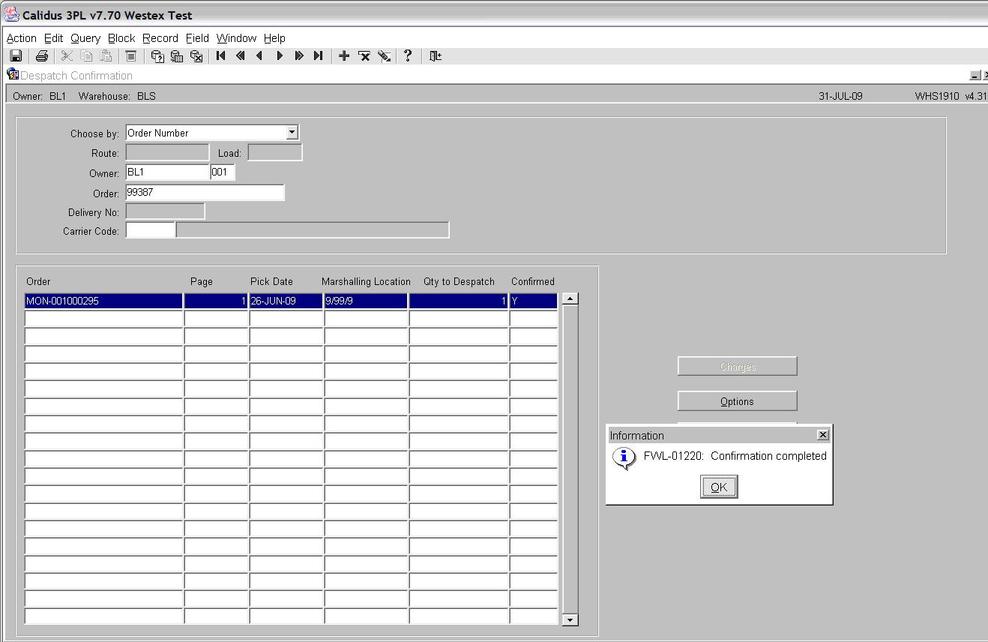
Press the ‘Confirm’ button to confirm the despatch.
The order has now been despatched and will have a system status of 9.
