Creating a User: Difference between revisions
Lwinchester (talk | contribs) |
Lwinchester (talk | contribs) |
||
| Line 55: | Line 55: | ||
Tab or use the mouse to place the cursor in to the Company Code field. | Tab or use the mouse to place the cursor in to the Company Code field. | ||
=Document History= | =Document History= | ||
Revision as of 15:33, 5 November 2010
User Creation
For a user to access the system they must first have an account created that will define the actions a user can perform with the system.
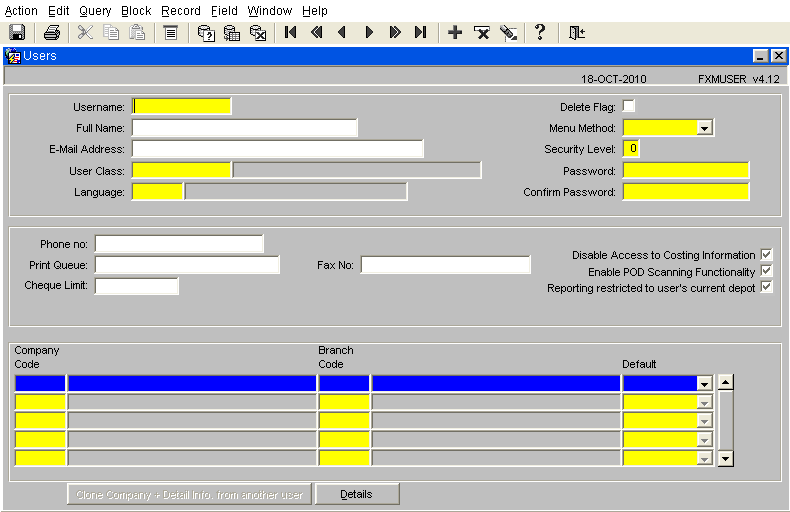
1- Open the form USERS (FXMUSER) ( It is possible to find the form in the main menu using the standard search facility in the left hand tool bar, click on the magnify glass)
2- The form will open in entry mode, ready for the creation of a new user.
User Detail
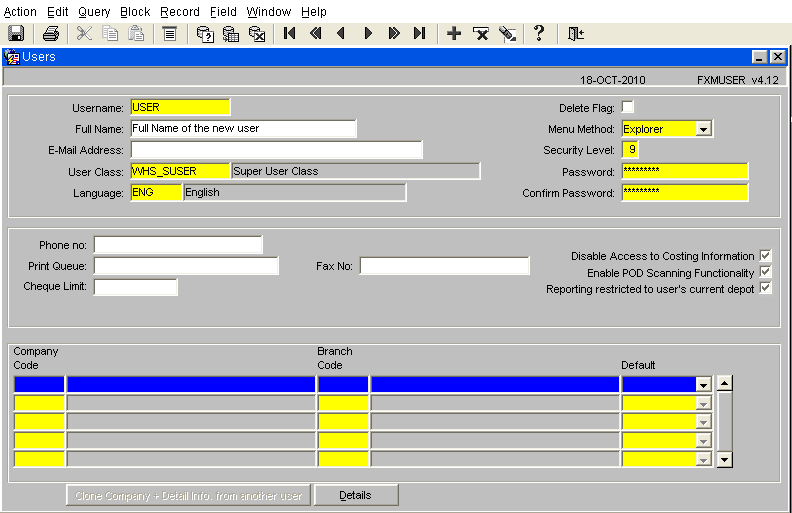
Details to enter are the fields marked in yellow which are mandatory for the system. All mandatory fields except the username are provided with a list of values to select from. To call the List of Values (LOV), either select the ‘List’ icon from the toolbar or ‘CTRL & L’ on the keyboard Enter the Username (12 characters) for the person requiring the account then tab into the user class field. Either enter or select from the LOV the User Class for the user. The User Class will determine which screens the user will have access to. Tab into the Language field. Enter ‘ENG’ as the default language, tab into the Menu Method field From the drop down list select the value ‘Explorer’ then tab into the Security Level field The security levels are set against both users and screens within the WMS, with 1 being the lowest and 9 the highest. As standard set all users with a security level of 9, as the User Class will determine which screens they are given the option of running. Tab into the Password field. Set the password for the user, must be a minimum of 6 characters and the first character must be a letter. Tab into the Confirm Password field. Re-enter the same password into the confirm password field, then save the record by either selecting the Save Record icon from the toolbar or CTRL & S from the keyboard.
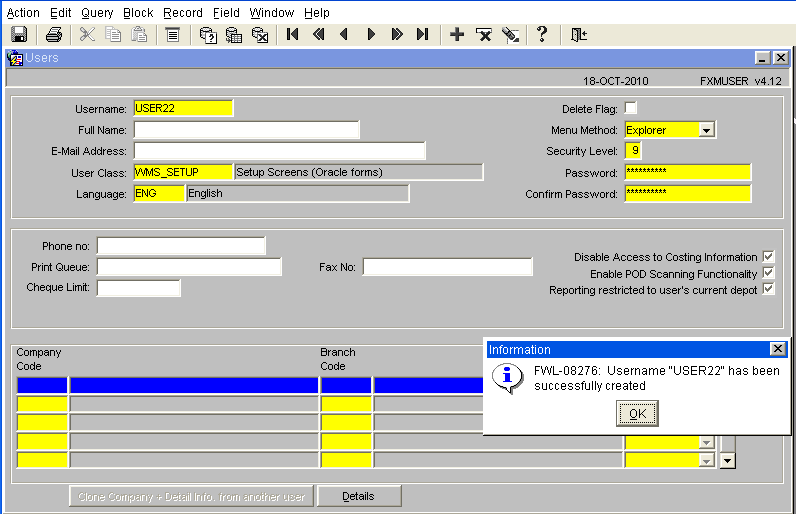
Upon successfully saving the record an information message will inform the user the account has been successfully created.
Company Details
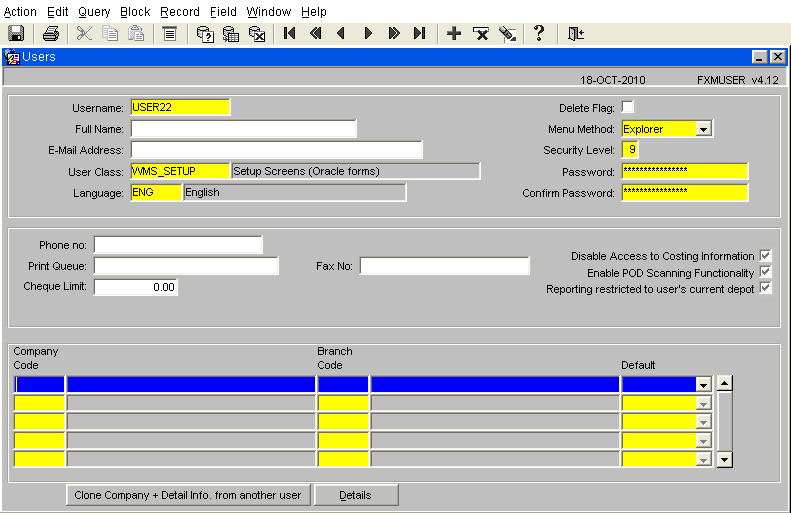
Additional details now need to be entered against the new user account, these can be either entered manually or the values copied from another user with the same configuration.
Tab or use the mouse to place the cursor in to the Company Code field.
Document History
Copyright OBS Logistics © 2008
The information contained herein is the property of OBS Logistics and is supplied without liability for errors or omissions. No part may be reproduced or used except as authorised by contract or other written permission. The copyright and foregoing restriction on reproduction and use extend to all media in which the information may be embodied


