Creating an Sales Order
Goods Out – Sales Order Maintenance
<br\>
The Sales Order Maintenance screen is used to create sales orders within the system. Sales orders can be created manually or via EDI.
There are 2 stages to creating a sales order; header and detail.
The Sales Order Maintenance screen can be found in the Sales Allocation and Picking folder.
The following section covers how to manually create a sales order. <br\>
Creating the Sales Order Header:
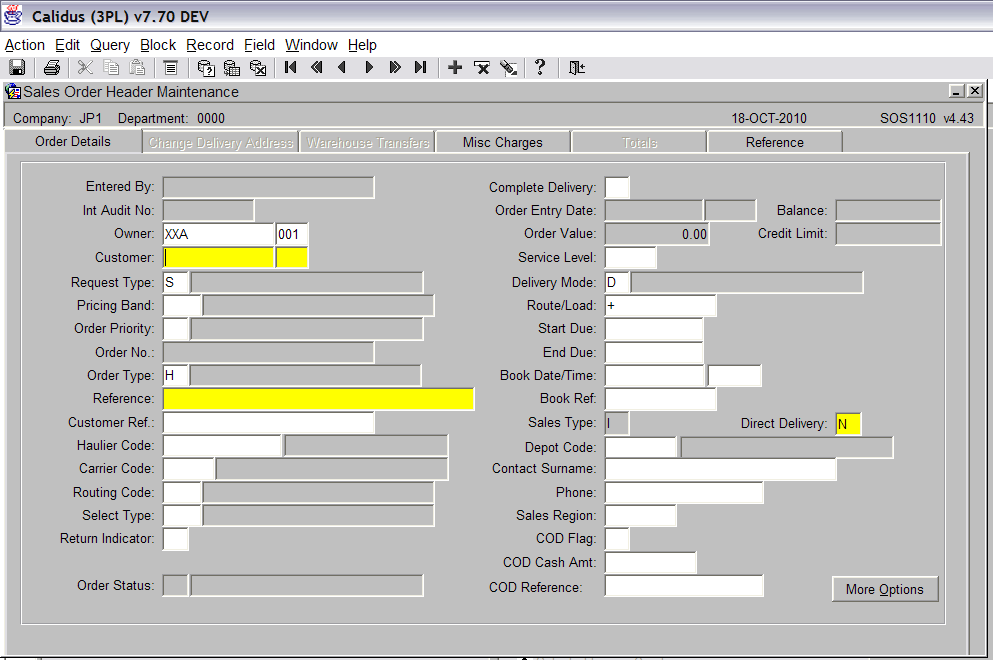
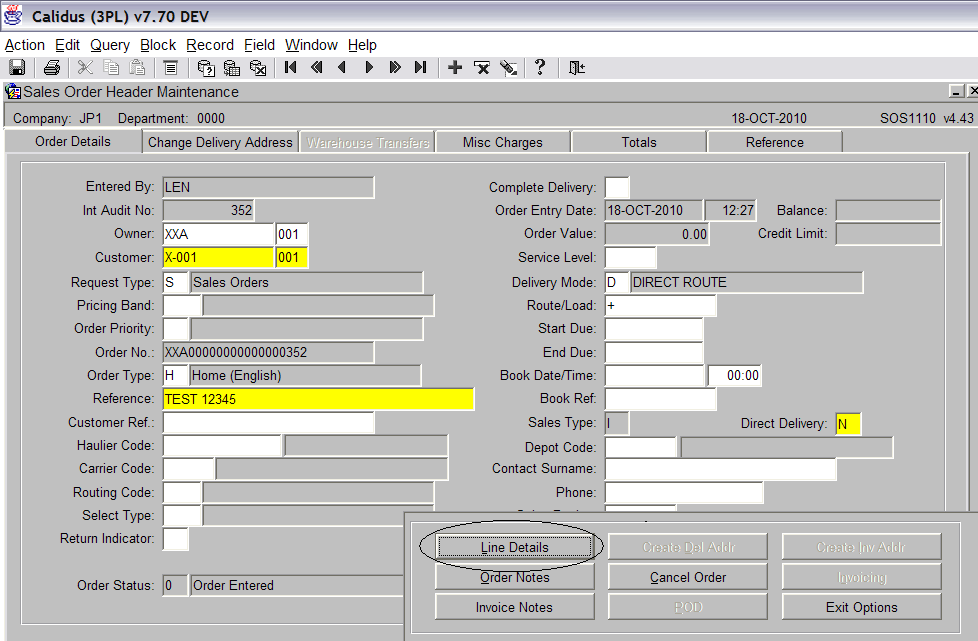
The only two fields that are required are ‘Customer’ and ‘Reference’.
The ‘Customer’ field is the customer to where the order is being sent to. The user can either enter the customer code of select a code from the list of values.
The ‘Reference’ field is a blank text field that can be populated with any required data. There is no validation within the field.
All other fields are optional.
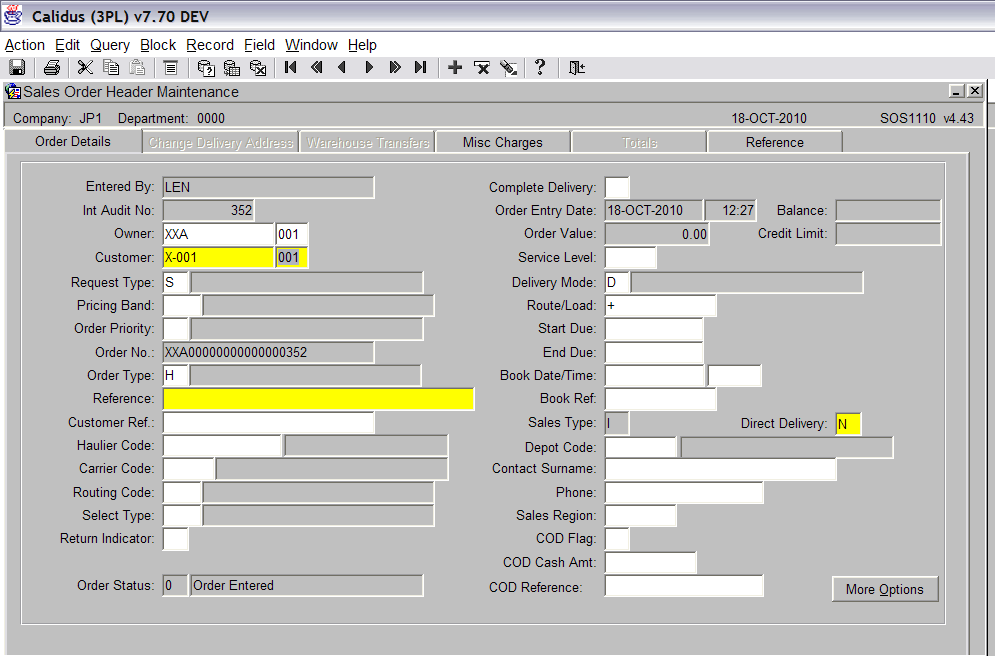
After the customer code has been entered the system will generate a unique Order Number (see screen shot below). <br\>
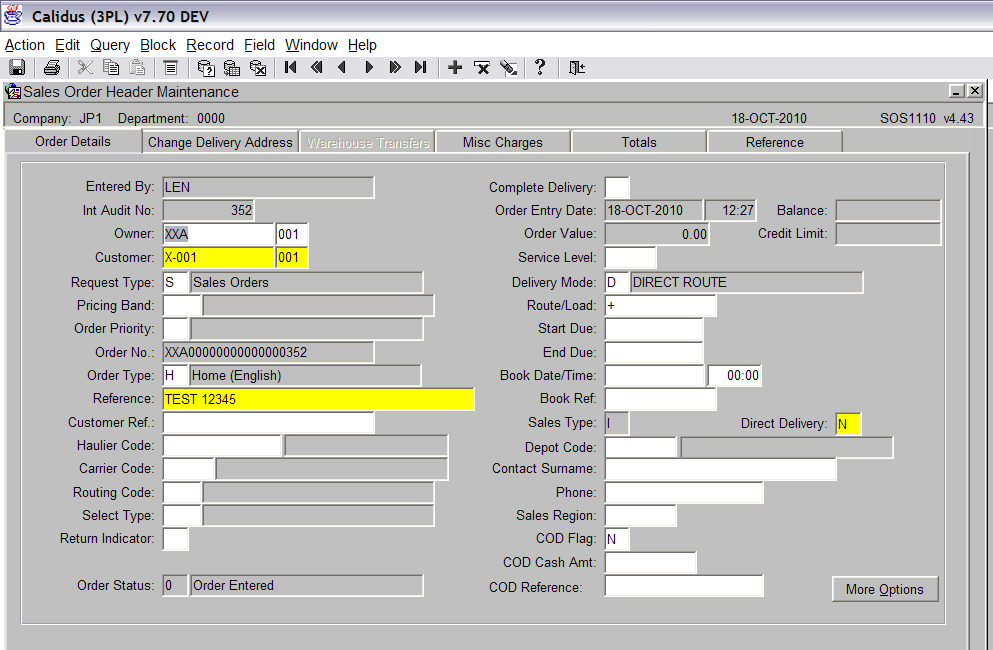
Enter the reference number. Remember this is just a text field with no validation. Press the Save icon to continue.
<br\>
Creating the Sales Order Detail: <br\>
Press the ‘More Options’ button to continue:
<br\>
Select ‘Line Details’.
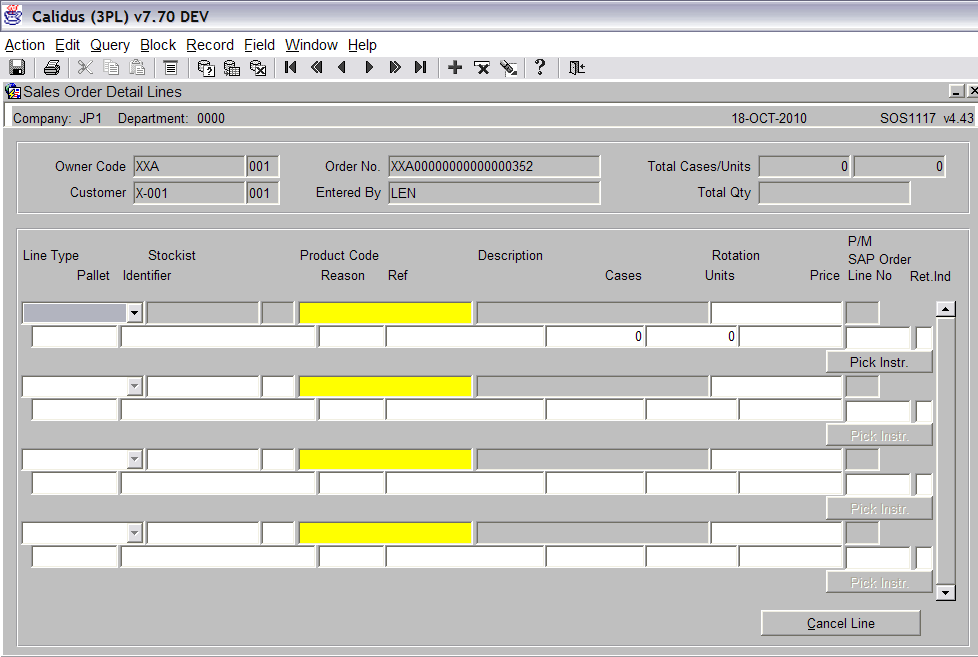
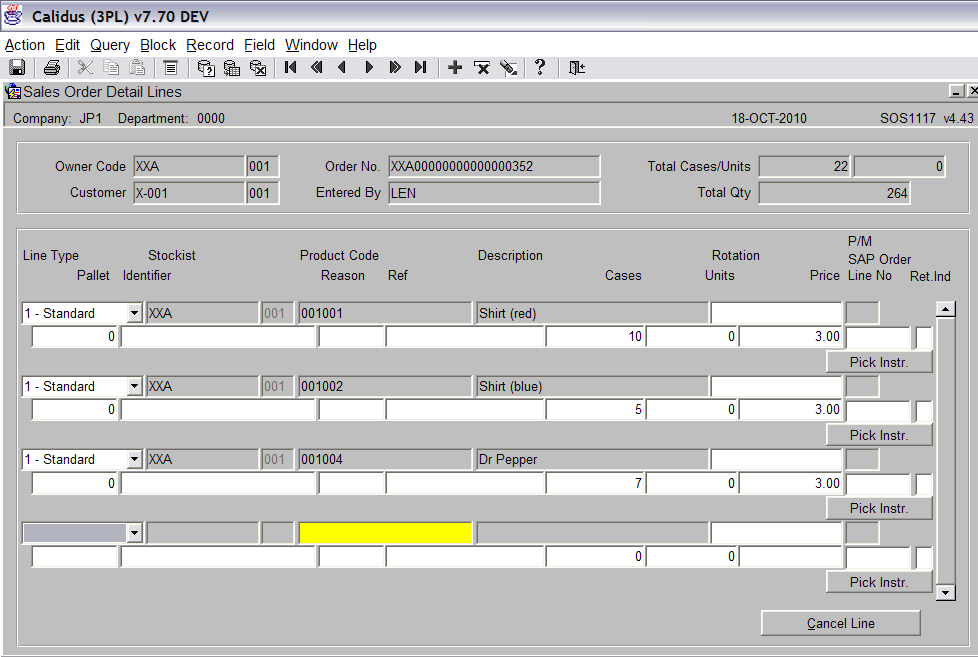
It is now possible to enter the product and quantities:
The following details are required:
Line Type – The default option for this is STD (Standard), by pressing tab through the field, the system will automatically default to using ‘STD’.
Stockist – This will default to the current Owner/Stockist code set against the user.
Product Code – Enter the product code or use the list of values to select from.
Cases / Units – The number of cases or units to be sent.
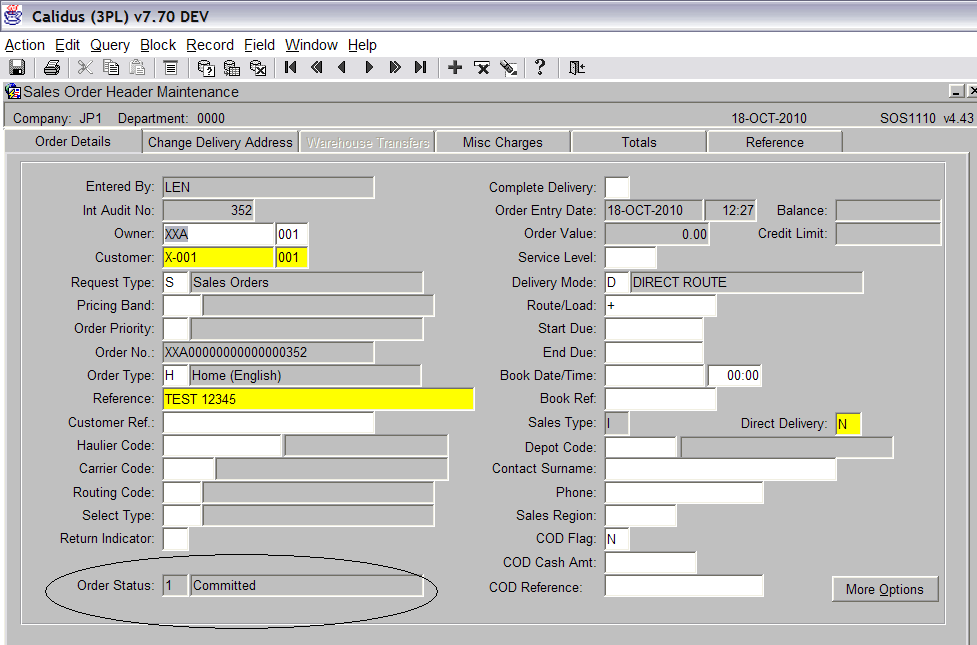
Once all lines have been entered, press the exit button to return to the main header screen.
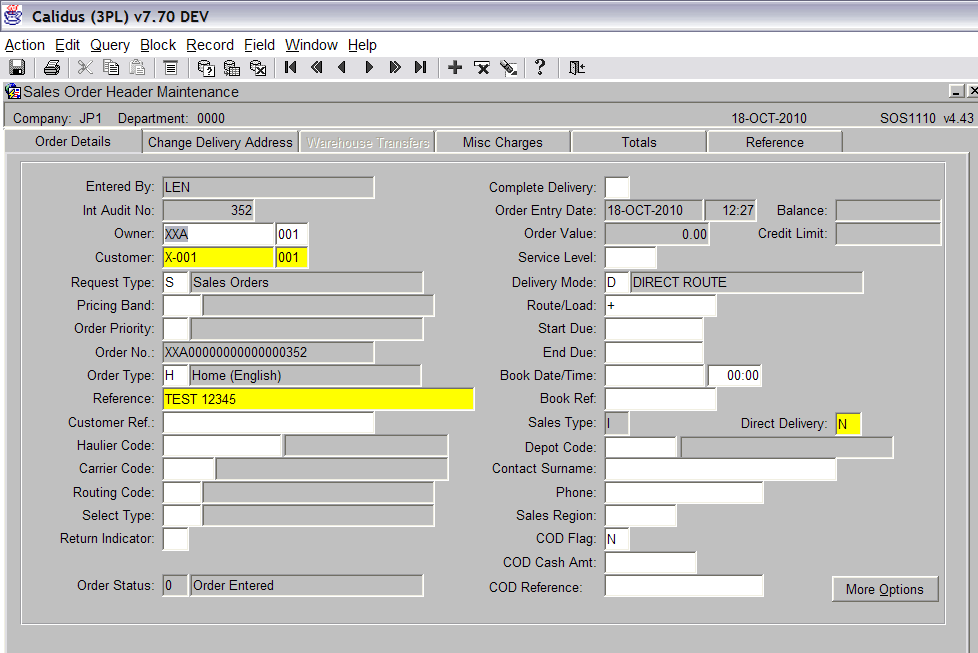
As you can now see the Order Status is now showing committed (see screen shot above.
Document History
Copyright Aptean © 2008
The information contained herein is the property of Aptean and is supplied without liability for errors or omissions. No part may be reproduced or used except as authorised by contract or other written permission. The copyright and foregoing restriction on reproduction and use extend to all media in which the information may be embodied
