Despatch: Difference between revisions
No edit summary |
No edit summary |
||
| Line 35: | Line 35: | ||
<gallery widths=200px heights=320px perrow=3> | <gallery widths=200px heights=320px perrow=3> | ||
Image:MCS_Despatch7.png|''Ready for Despatch'' | |||
Image:MCS_Despatch7.png|''Despatch Confirmed'' | Image:MCS_Despatch7.png|''Despatch Confirmed'' | ||
</gallery> | </gallery> | ||
Revision as of 11:57, 25 August 2017
Clicking 'Despatch' from the menu will take the user to the despatch screen. The first thing the user will see is a prompt to enter the Trip ID that is to be despatched. The user is also asked whether an Airway bill or consignment is required. The default is yes. If the user clicks no and the carrier does require a Consignment or AWB's to be entered a warning message will appear prompting the user that it is required
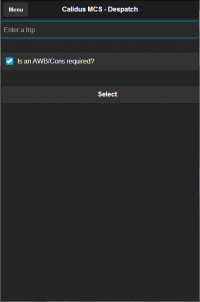
Despatch Trip Entry
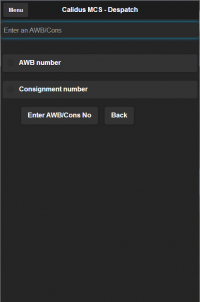
AWB/Consignment Select
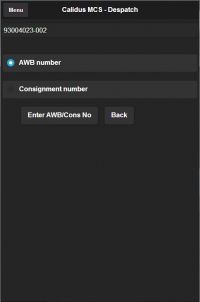
AWB Entry


Once the AWB/Cons is entered. Click the 'Enter AWB/Cons No' button and the user is taken to a list of items and Pallets that are to be dispatched on the trip in question. The below screenshot shows one pallet and one loose package to be despatched
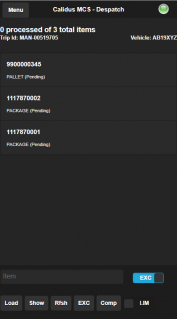
Items to Despatch

All items will then be scanned to confirm despatch. Once an item is despatched the status will be set to 'Loaded'.
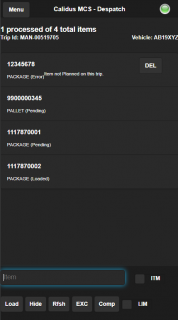
Partial Complete Despatch

If at any point an item is damaged clicking the 'DMG' button next to the item will take the user to the damages screen - see the Damages section for details.
If an items is scanned and a 3rd party label is required then the user will be prompted to enter a 3rd party label ID. This can be entered by either scanning the 3rd party label barcode or manually keying the label ID
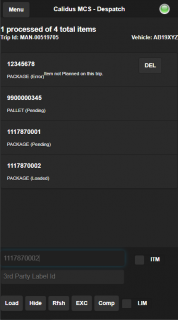
3rd Party Label Entry

Once all items are scanned click 'Complete' and the trip is now despatched.
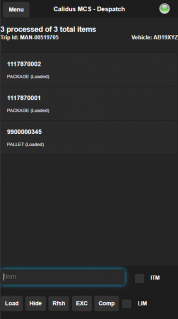
Ready for Despatch
Despatch Confirmed
