Easysoft ODBC-ODBC Bridge Installation
Overview
Requirements
This requires that legacy machine has the Easysoft ODBC-ODBC Bridge Server component installed, with the required tables configured in the catalogue. The IP address and port number of the Server will be required, along with logon details, plus the catalogue's database name, user and password.
Software
The Client software required will need to be compatible with the host version of Windows and with the Server Bridge Version. Consult Easysoft support if there are issues ([email protected]).
Previously used version are stored in P:\271321 - Vision\_Development\Development Tools\ and are shown below:
- odbc-odbc-bridge-2_1_0-windows-x86.msi
- odbc-odbc-bridge-2_3_0-windows64.exe
- odbc-odbc-bridge-2_4_2-windows.exe (Recommended version)
Installation
![]() Note: This guide is based on version 2.03.00.00 of the Easysoft ODBC-ODBC Bridge installer on Windows 7. This has been confirmed identical to version 2.04.00.02 installation on Windows 7 and Windows Server 2008.
Note: This guide is based on version 2.03.00.00 of the Easysoft ODBC-ODBC Bridge installer on Windows 7. This has been confirmed identical to version 2.04.00.02 installation on Windows 7 and Windows Server 2008.
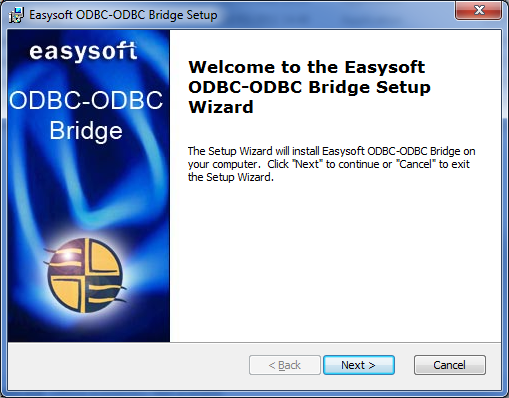
Run the recommended Easysoft installer on the machine
Click Next.
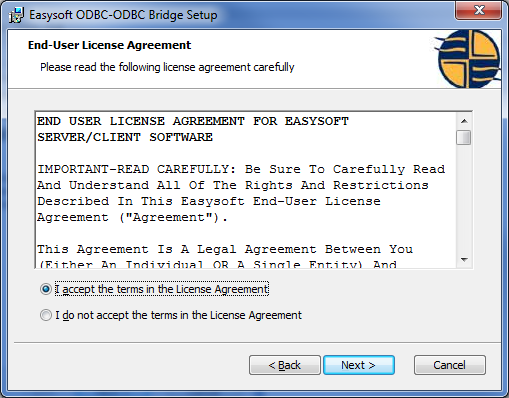
Accept the license agreement and click Next.
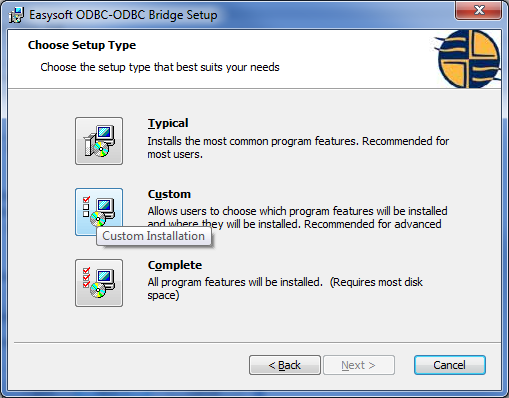
Click Custom.
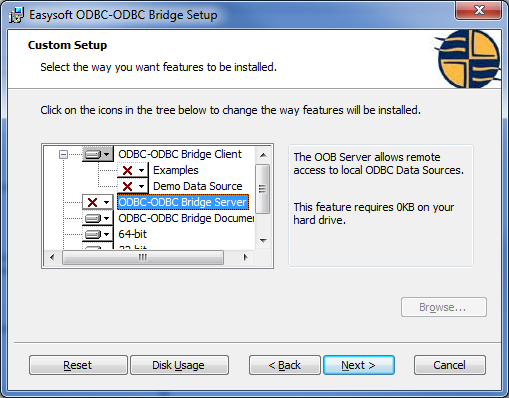
When prompted, deselect Server components and select Documentation components, so as to match the screenshot.
Click Next.
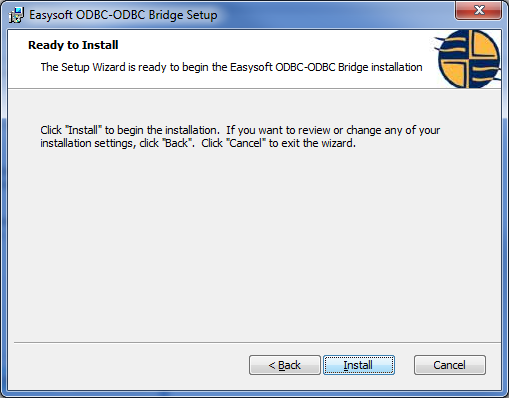
Click Install.
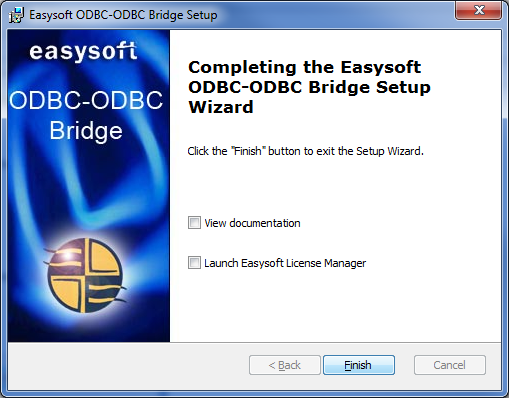
Deselect Launch Easysoft License Manager and click Finish.
Testing Configurations
Testing of the software connections should be performed using ODBC connections on the Vision (Client) host machine.
For 64-bit ODBC connections on 64-bit machines, or 32-bit ODBC connections on 32-bit machines:
- Click Start/Control Panel/Administrative Tools/Data Sources (ODBC)
For 32-bit ODBC connections on 64-bit machines:
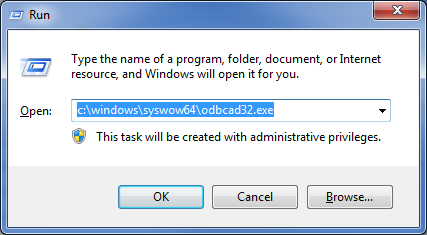
- Click Start/Run
- Enter "c:\windows\syswow64\odbcad32.exe" and click OK.
When ODBC configuration has started:
- Click System DSN tab
- Click Add button
- Click Easysoft ODBC-ODBC Bridge
- Enter a unique Name and a Description in the DSN tab
- Enter your database Servers and port, Username and Password in the Server tab. This will be the machine hosting the CISAM data and Easysoft server.
- Enter Target DSN, Target User and Target Auth in the Target DSN tab. This is the catalogue name in Easysoft server, with the user and password as configured through the administrator.
- Click Test. If there are no issues a screen will be displayed as below.
- Click OK to save the ODBC connection if required.
Configuring the datamine
Use the setting for the WMS414 data mine, with a connection string as follows, replacing the square brackets with the correct parameters as used when configuring the ODBC connection:
SERVERPORT=[x:y];TARGETDSN=[];UID=[];PWD=[];LogonUser=[];LogonAuth=[];
