External Data Access
![]()
Aptean
External Data Access Guide
WCS - 3.4
24th November 2011 - 11.1
Reference: UG 106181
Summary
The Calidus 3pl-Mobile database can be accessed for client reporting purposes using a Microsoft-standard ODBC data connection.
The suggested mechanism for accessing the data is:
- Create a link database
- Create an ODBC Data Source
- Get the data from the ODBC data source with Microsoft Excel
Details
Set-up Requirements
The Calidus 3pl-Mobile system must be set up for your data.
You must have access to the logging database. This document assumes that this has been created under a network drive X:
Create a Link Database
In order to minimise the impact of the query on the Calidus 3pl-Mobile system, this should be performed on a link database. It is possible to access the database directly, but this is not recommended by OBS.
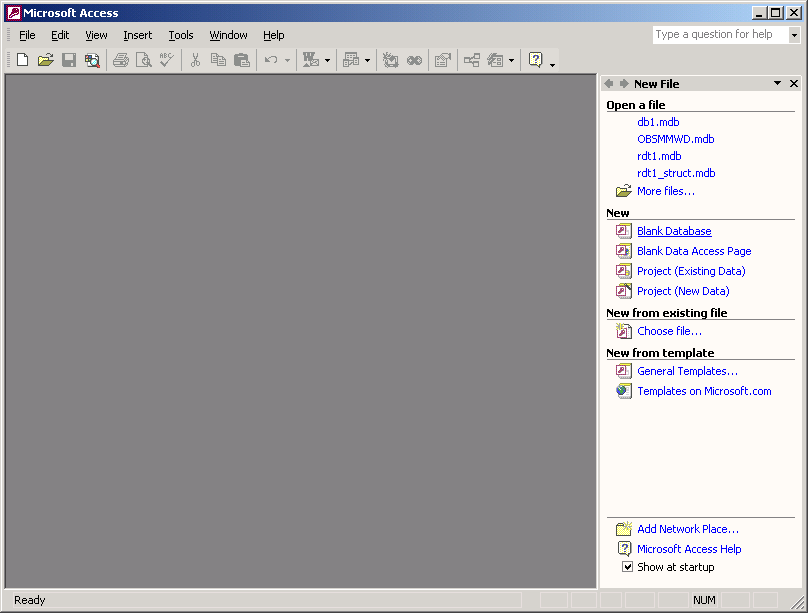
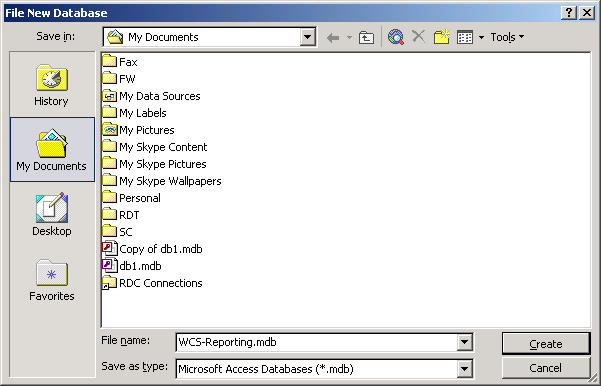
Create a new Access database.
This database can be created locally (or your PC) if this is only being used by you, or can be created on any network machine (for example, the WCS Server) if used by many people.
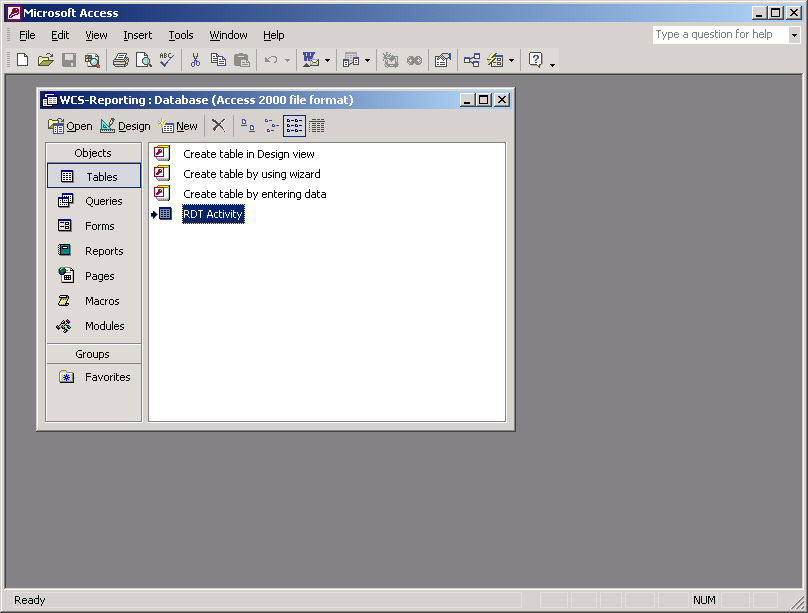
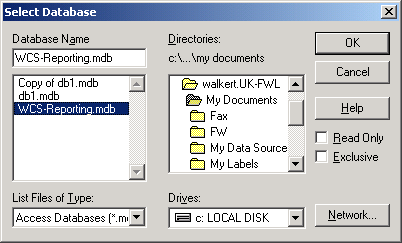
In this case this has been called WCS-Reporting.mdb, created in My Documents
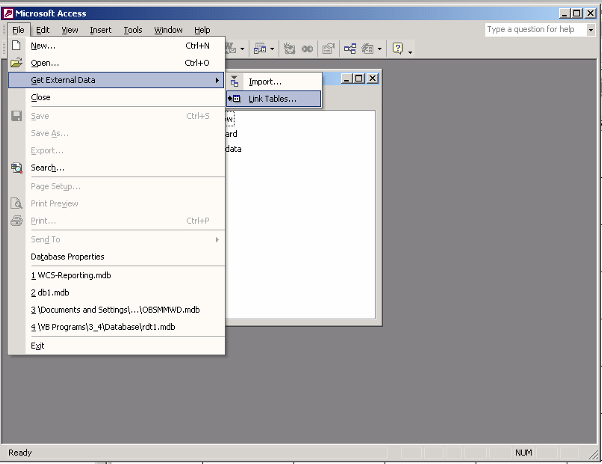
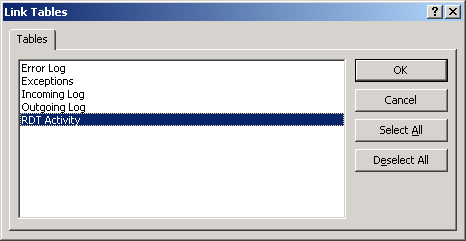
Choose Get External Data/Link Tables from the File menu.
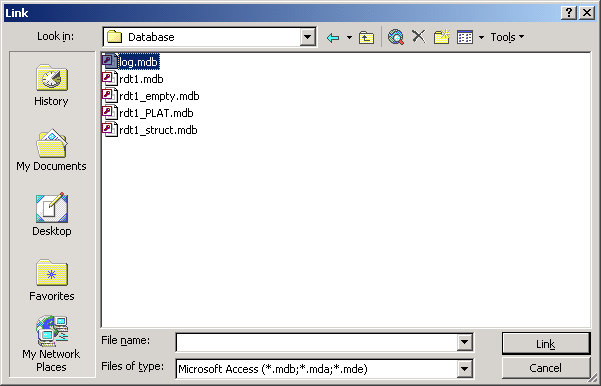
Link to your Calidus 3pl-Mobile logging database. This is normally in X:\Log.mdb or X:\Log1.mdb.
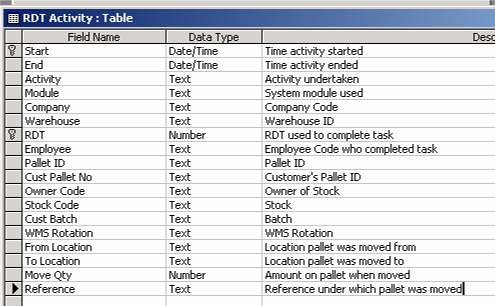
Link the table ‘RDT Activity’
Save your new database by closing Access.
Create an ODBC Data Source
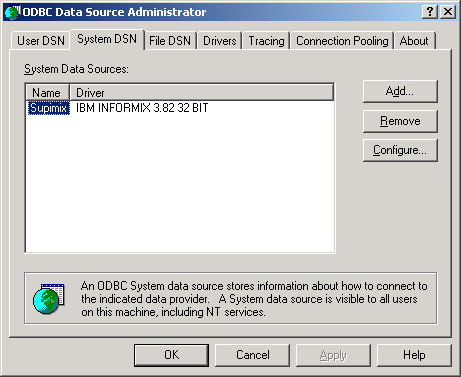
Choose Start/Settings/Control Panel/Administrative Tools/Data Sources (ODBC) from the Start menu.
If this option is unavailable on your PC, you must have an Administrator user do this for you.
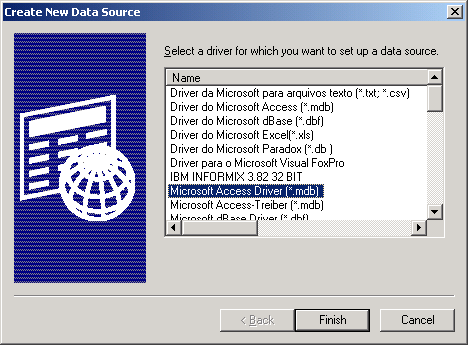
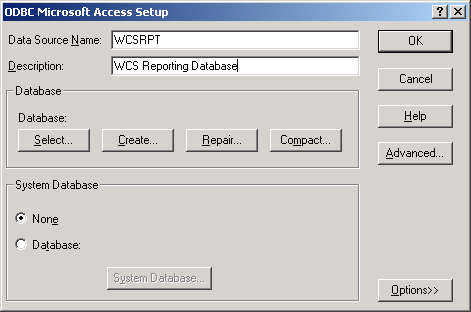
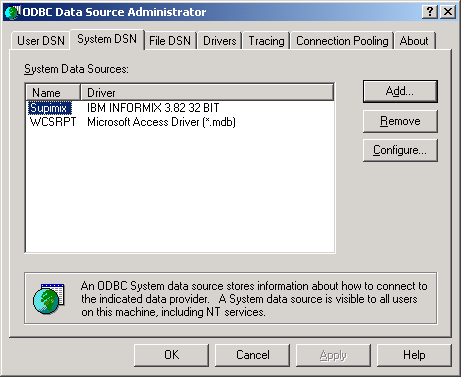
Create a new System DSN
Choose ‘Microsoft Access Driver (*.mdb)’.
If this option is unavailable on your PC, the Microsoft Data Access Components (MDAC) must be installed on your PC.
Ensure the Data Source Name is 8 characters or less.
Select your data source using the ‘Select…’ button.
Click ‘OK’ to save the new data source
Access the Data in Microsoft Excel
Now that this is set up, you can access the Calidus 3pl-Mobile logging data from external sources. In this example, this is from Microsoft Excel, but could just as easily be from any ODBC-compliant reporting tool, such as Crystal Reports or Cognos Impromtu.
Open Excel and create a new workbook.
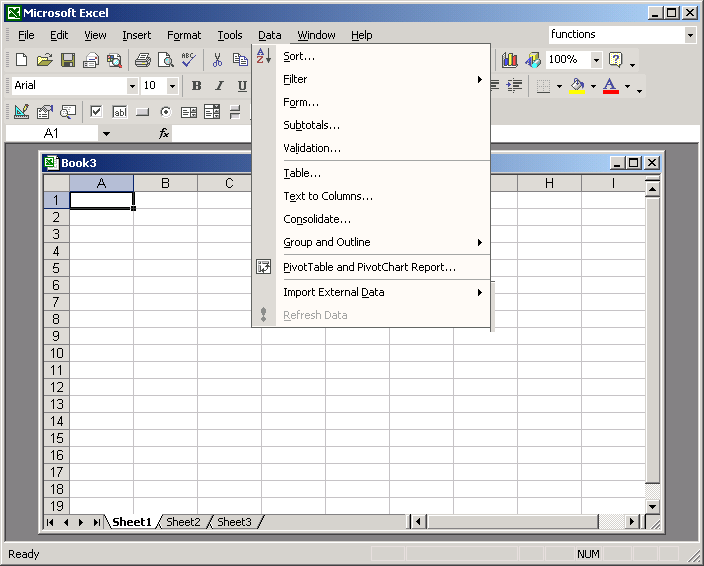
Choose Import External Data/New Database Query from the Data menu.
At this point, you may be prompted to install Microsoft Query for Excel. This may have to be completed by an Administrator.
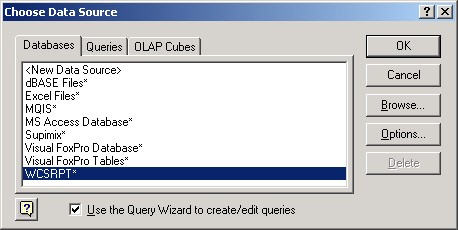
Choose the WCS Reporting Data Source we set up earlier.
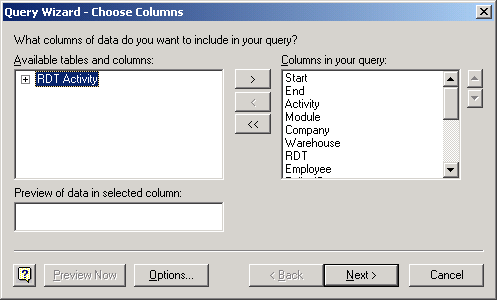
Choose the table to report. In this case, you will want the RDT Activity table.
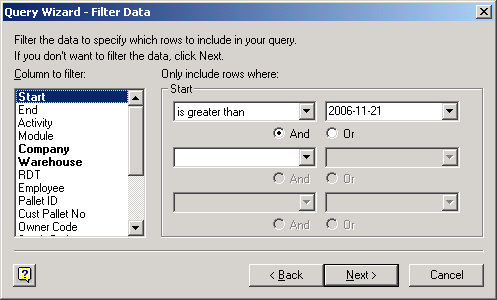
Choose the data you want to filter.
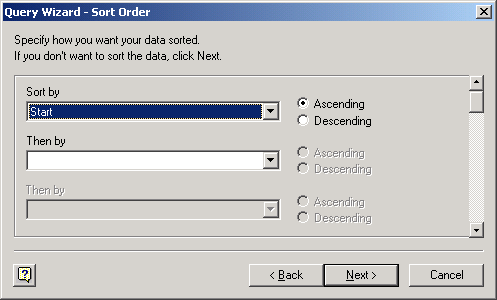
Choose the Sort Order
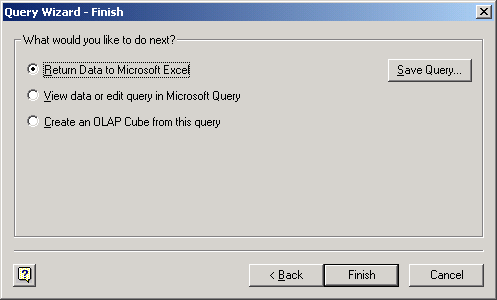
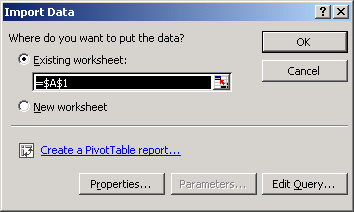
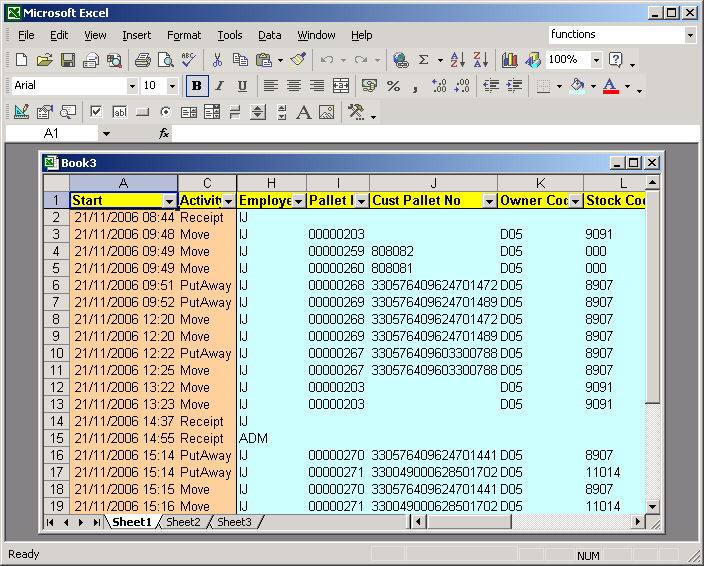
Return the data back into Excel.
Choose the cell into which you want the data to be loaded.
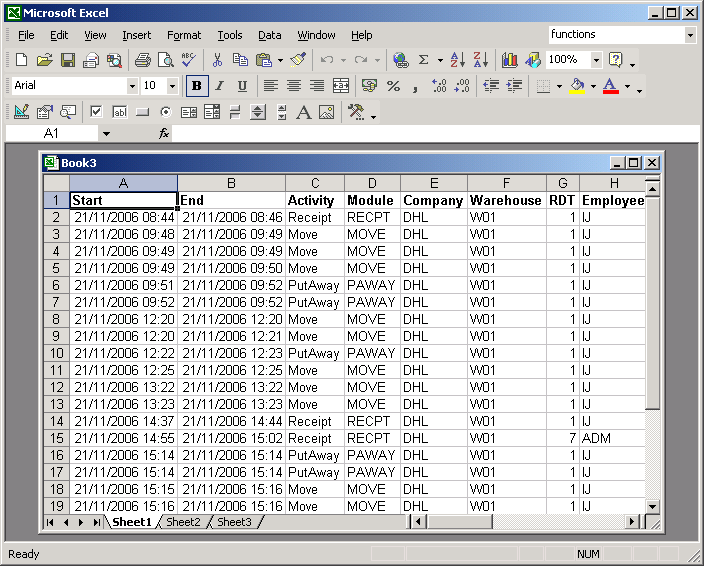
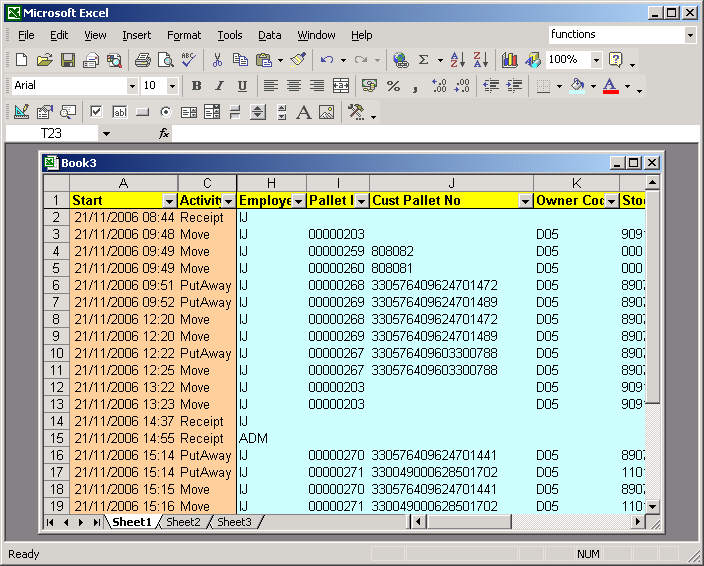
Once the data is loaded in the form, you can filter and format the data in any way you want.
You can refresh the data by choosing Refresh Data from Data menu or the menu shown when right-clicking on the cells.
The sheet will retain its formatting.
You can then save this worksheet for running in the future.
Adding Parameters
Parameters allow you to specify the data to be returned ‘on the fly’ by saying what you want it to match.
Choose Import External Data/Edit Query from the Data menu.
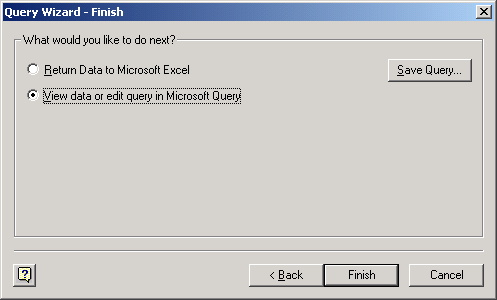
Keep hitting Next until you get to the end of the query, then click on the ‘View Data in Microsoft Query’ option, before clicking Finish.
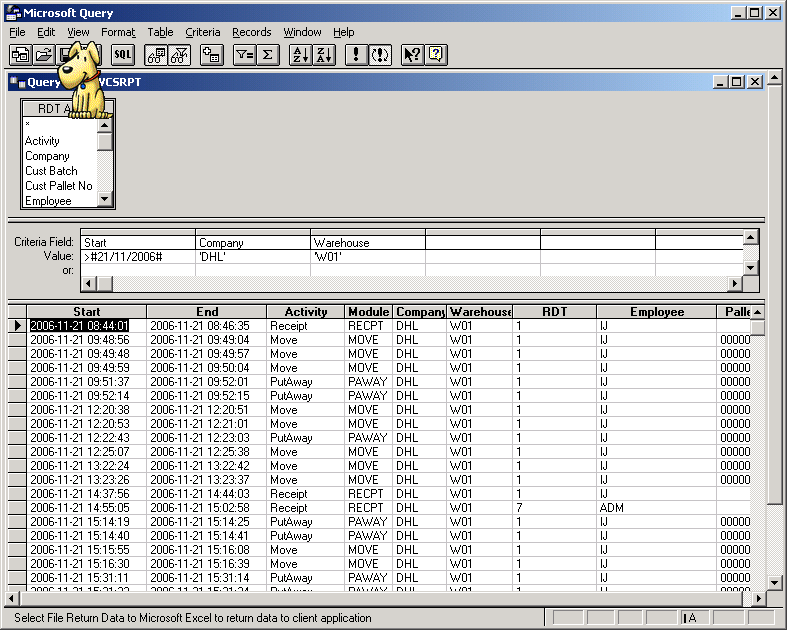
You will be taken into the Microsoft Query application.
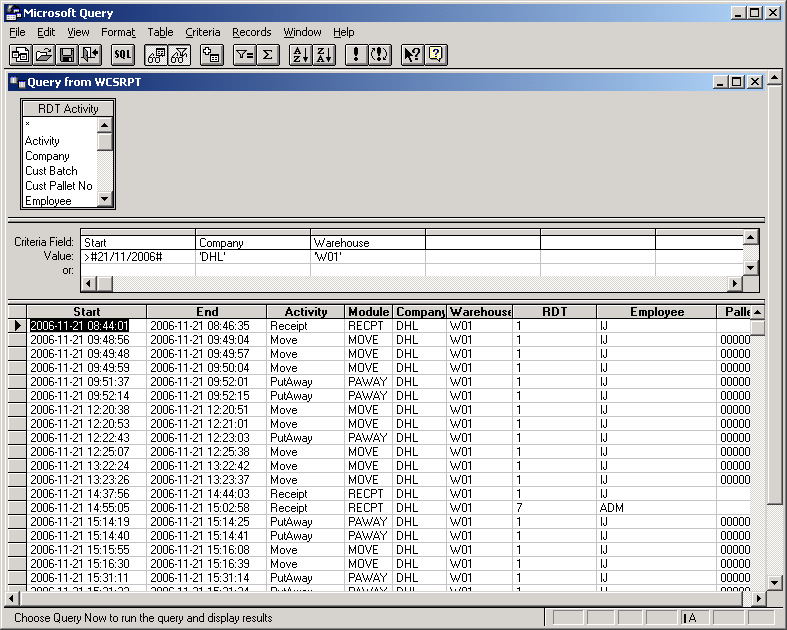
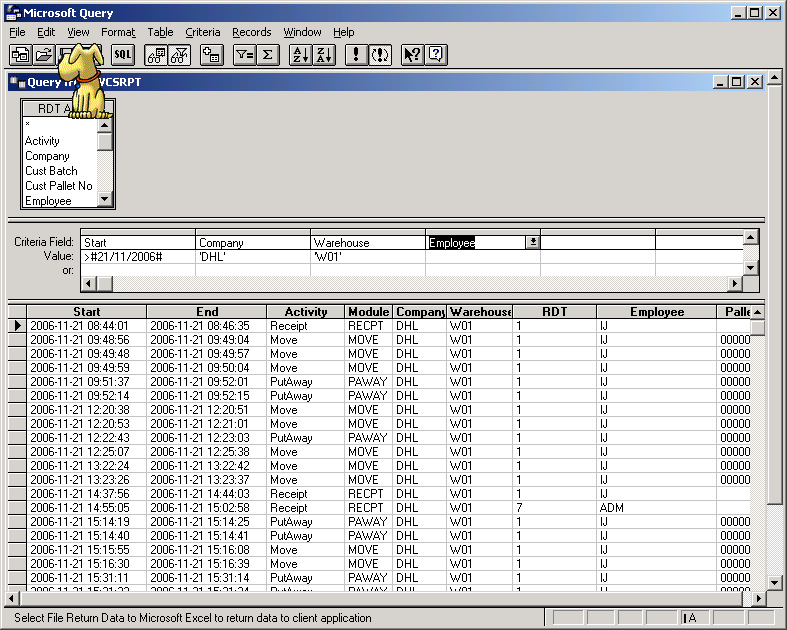
Make sure the Auto-Query button (!) is not pressed in.
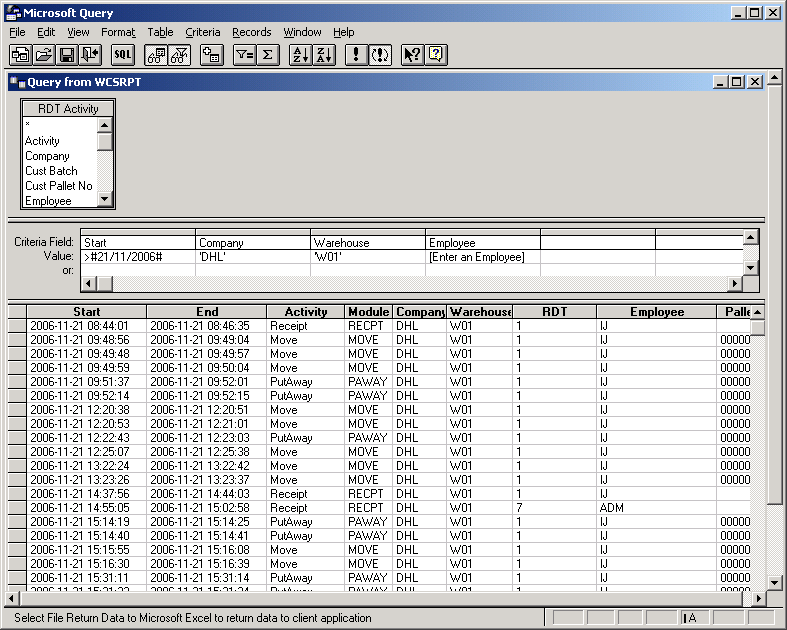
Choose the item you wish to parameterise.
Enter a prompt for the value.
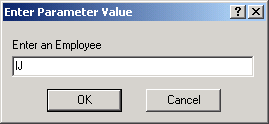
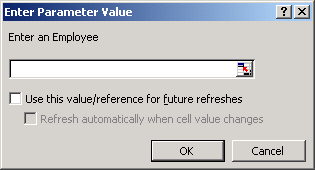
Hit Enter. You will be prompted for an employee code in a popup box. Enter one.
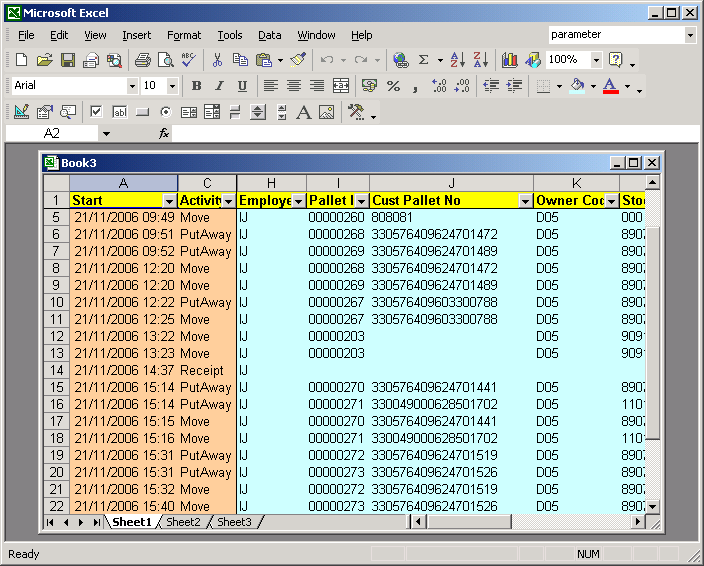
You can now exit Microsoft Query and return the data to the Excel spreadsheet by clicking the X in the top corner.
The data is now selecting only the tasks relevant to employee IJ. Whenever you refresh the data, the Employee will be prompted:
You can add multiple parameters to a query. Each will be prompted for in turn.
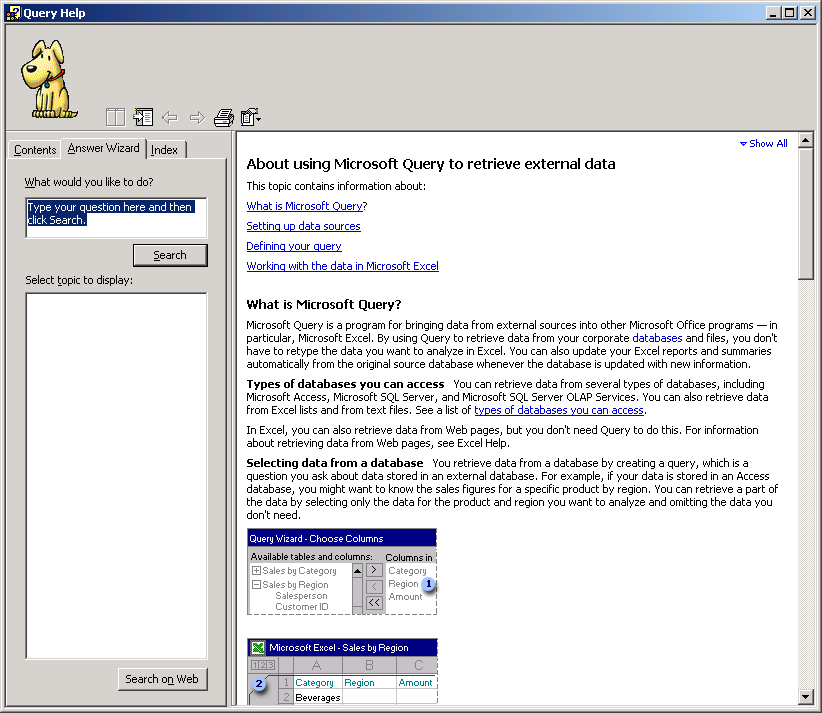
Note: You have full help on how Microsoft Query works, available using the Help button on the Query forms.
-
-
-
-
-
-
-
-
- WCS File Layout
-
-
-
-
-
-
-
RDT Activity table
