Using WCS from WMS
![]()
Aptean
Using WCS from WMS Guide
WCS - 3.4
24th November 2011 - 11.1
Reference: UG 106181
System Overview
Operation
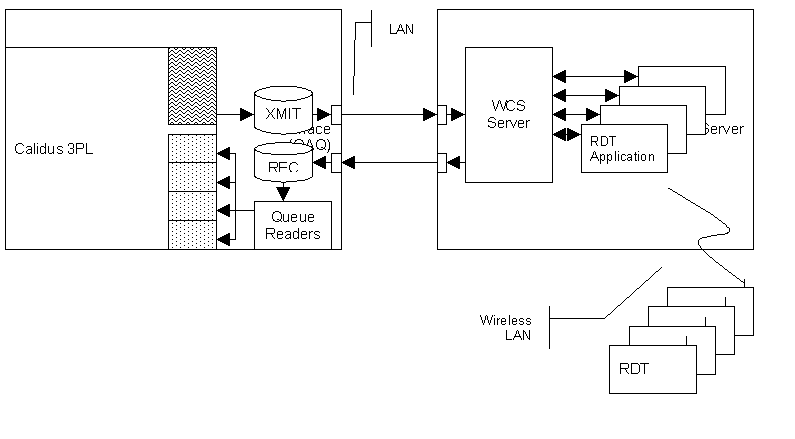
As can be seen from the diagram, Calidus 3pl runs on a UNIX server, while Calidus 3pl-Mobile runs on a Windows Server in this implementation.
In the diagram, Calidus 3pl has been split into three areas.
The non-shaded area is the manual Calidus 3pl system, being the screens and methods currently used to enter and confirm tasks.
The wavy shaded area shows the portion of Calidus 3pl that sends messages to the WMS interface. These are covered in great detail in following sections.
The dotted area contains Calidus 3pl RDT update programs that automatically do the work of the confirmation processes in manual Calidus 3pl. For example, one of these processes might confirm movements; another might confirm orders as picked. They work by receiving confirmation of tasks completed from Calidus 3pl-Mobile. Those messages (of tasks to be completed, and confirmation of tasks completed) are sent by the interface.
Both systems have an interface; Calidus 3pl''s is referred to as the WMS interface, Calidus 3pl-Mobile's as the WCS interface. Both need transmitters (to send their messages) and receivers to get messages back. As can be seen from the diagram, Calidus 3pl sends messages to Calidus 3pl-Mobile's receiver program, WCS Server through an Oracle Advance Queue. When messages are being sent back to Calidus 3pl, Calidus 3pl-Mobile's transmitter program, also WCS Server, sends messages to Calidus 3pl by enqueuing messages on Oracle Advance Queues in the WMS database.
The third part of the interface consists of the Merge processes. In Calidus 3pl, these consists of many processes which we route messages to using the Queue Reader processes. These route the messages to the Merge processes (dotted area of the RDT update programs).
So, let's look at the progression of tasks through this system from start to finish. For this example, we'll use a simple housekeeping pallet movement.
When the task (move pallet 1 from A to B) is raised, the message is passed to the WMS Interface Queue. The Queue passes the information to the WCS Server. Note: Only when the message is fully processed is this removed from the queue, ensuring messages are never lost).
Once WCS's receiver has the message, merges the message to the database. This identifies the type of message (a pallet movement), and checks that everything is OK about the messages contents. When satisfied of the contents, the task is put in the main WCS database, ready for use.
When an RDT user requests a task, and they are to be allocated movement tasks, WCS will allocate the closest movement to that user's location, or in priority order. In our example, this means they are given the movement we raised on Calidus 3pl. They are told to get the pallet 1 from location A and take it to location B, there scanning the check digits of the destination for confirmation.
Once they have completed the task, Calidus 3pl-Mobile sends a completion message to the Calidus 3pl receiver queue.
The Queue Reader associated to the queue identifies the type of message, in our example, a movement completion message. The message is then routed to the correct RDT update process. Again, messages are only removed from the queue when correctly processed.
The RDT update process examines the contents of the message for validity, and then updates all the Calidus 3pl data files that you would expect if it was confirmed manually in the Pallet Move Confirmation screen.
RDT Control Processes
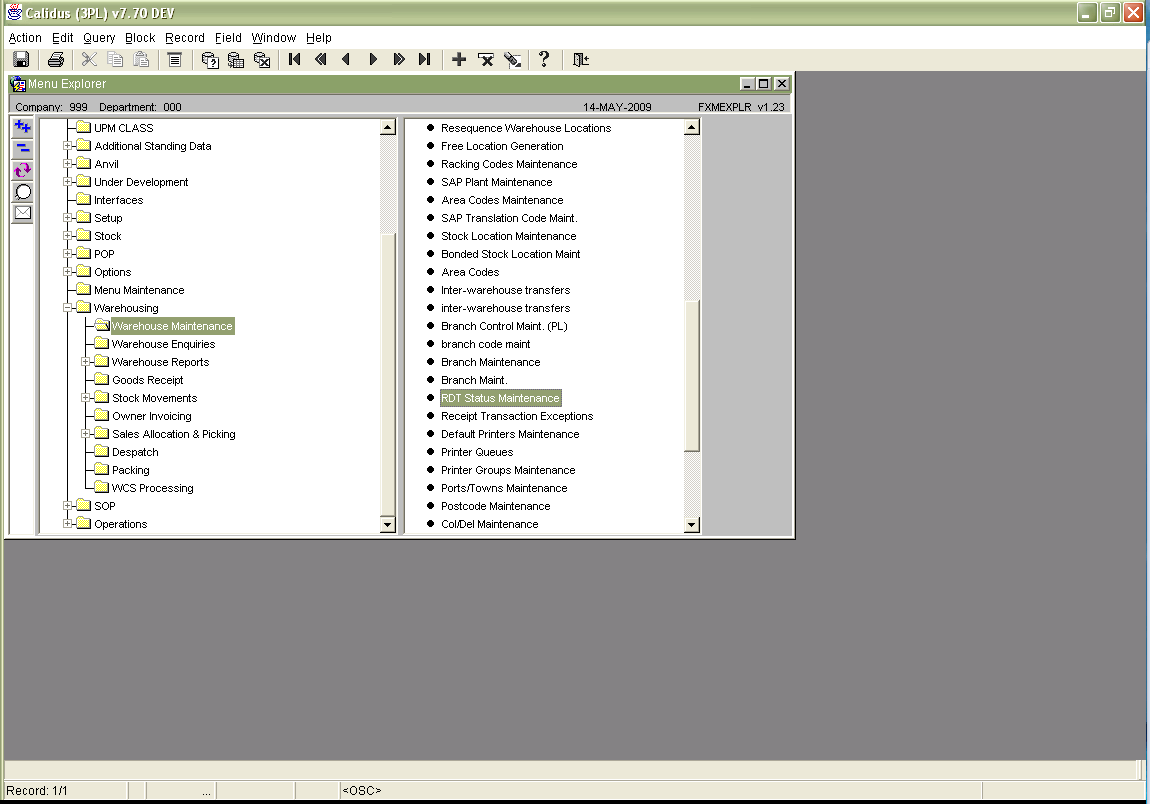
Menus
The menu is normally located on the top flexible menu.
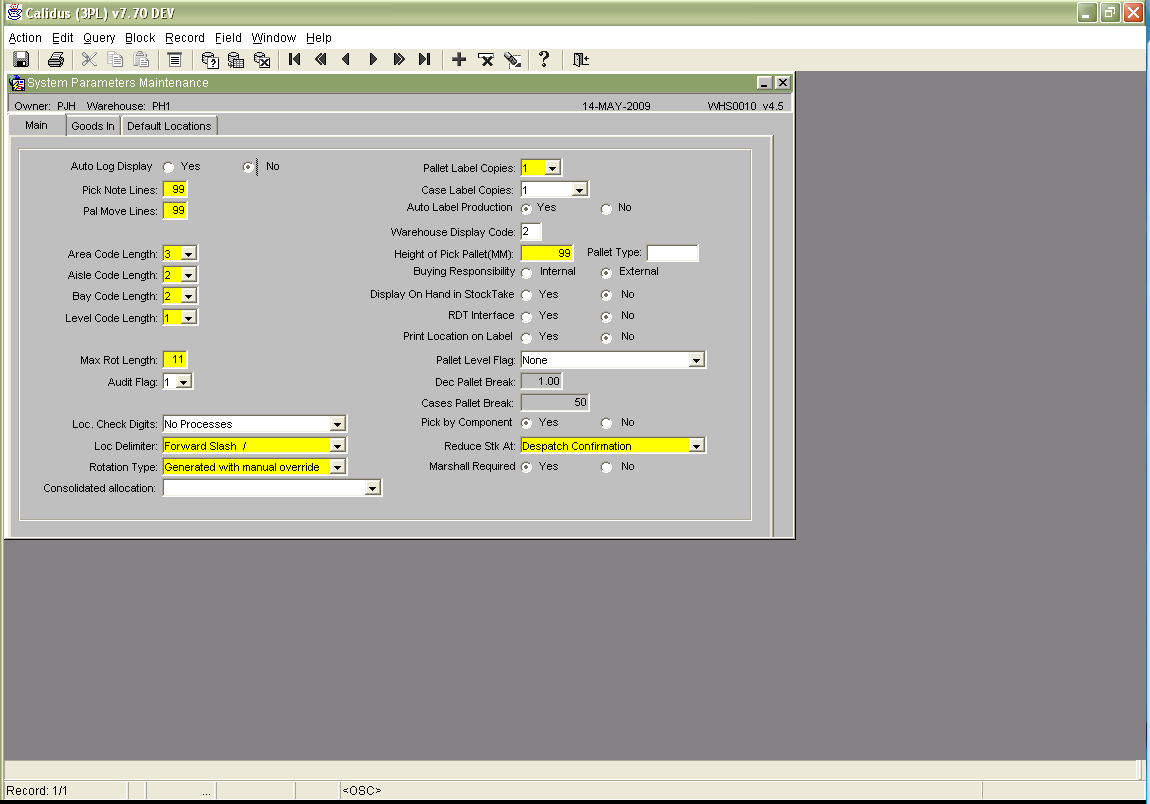
System Parameters
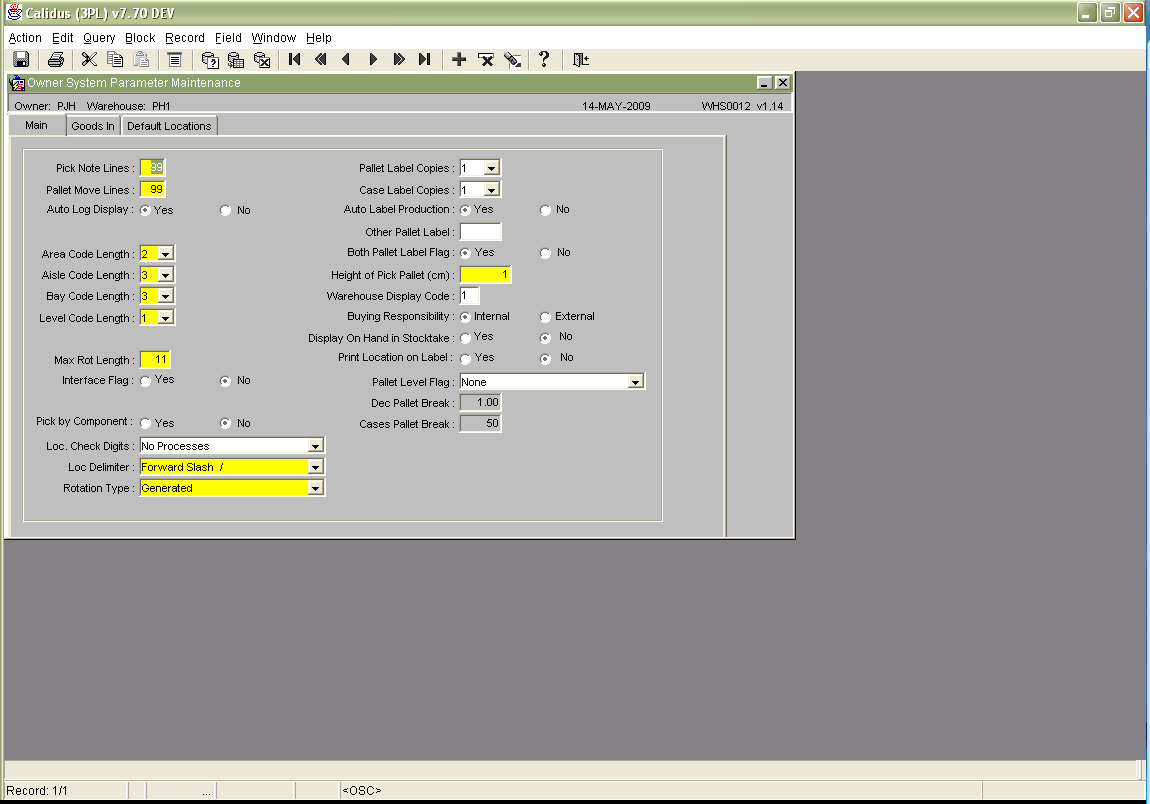
In order to send RDT messages or tasks to Calidus 3pl-Mobile, the Calidus 3pl system must be informed that the Interface to Calidus 3pl-Mobile is present. This is enabled via the 'RDT Interface' flag on system parameters.
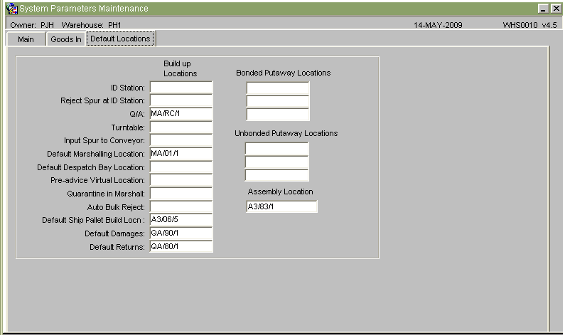
Click on the Default Locations tab to identify the default locations required.
Build up location 3 (Q/A) is the default putaway location, if the putaway algorithm finds no locations. Location 6 is a Default Marshalling Location, used by pick list and allocation.
Owner parameters
An RDT Interface flag also exists per Owner or Stockist. With this flag, we are able to determine whether, even if the warehouse allows RDT operations, the owner allows RDT operations.
In all ways, this bank of screens operates in the same way as the System parameters screens, described above.
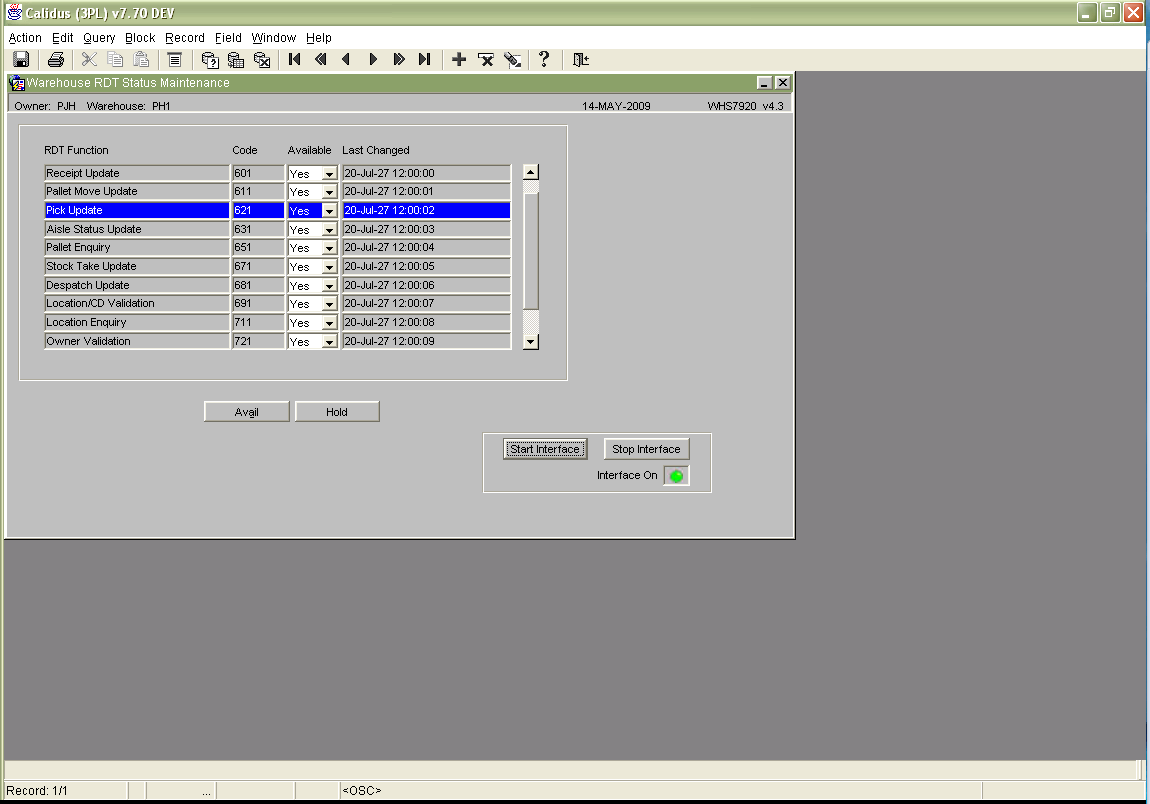
RDT Status Maintenance Screen
This screen is the major control screen for RDTs in Calidus 3pl
Each line controls not only the running of the update process in Calidus 3pl, but also the availability of the functions to standard Calidus 3pl processing. So, for example, if the Pallet Receipt Update availability flag is 'Y', you have the ability to send receipt preadvice messages to WCS. If it is 'N', you can't send those messages.
The use of the availability flags in the system will be explained for each sending process described in the next section.
Use 'Start Interface' to start the RF interface programs.
Use 'Stop Interface' to stop the RF interface programs.
The light below these buttons indicates whether the interface is on or off.
The use of this screen should be limited to System Administrators only.
SENDING DATA
Standing Data tables
See the C3PL-M Setup guide, for details of how this data is used in the Calidus 3pl-Mobile.
Various data tables on Calidus 3pl need to be sent to Calidus 3pl-Mobile. These tables are:
- Employees
- Truck Types
- Pallet Types
- Location Types
- Reason Codes
- Receipt Types
- Aisles Status/Aisles
- Stock information
The maintenance screens for these tables can be found (by default) on the Warehouse maintenance menu. The exception to this is the Stock Maintenance screen, normally found on the Stock menu.
To perform an initial send of the data to Calidus 3pl-Mobile, enter the form and find data. Once found, click the Send button on the form, which will only be visible if the Interface flags for the owner and warehouse are enabled. The whole file will be sent.
Also, during normal use of the screens, any added or deleted data is sent to Calidus 3pl-Mobile, to keep the files accurate. Simply use the screen as normal, and the data will be sent, as long as the interface flags are turned on.
Preadvices
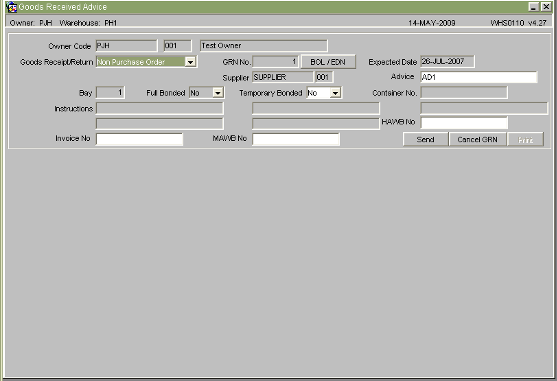
Enter the preadvice as normal, either with or without pallet details.
Once all details have been entered, click the 'Send' button on the main preadvice screen. Tasks per pallet will be sent to Calidus 3pl-Mobile. You can only send preadvice records this way if the availability flag of the Pallet Receipt Update process is set to 'Y'.
Sending the preadvices to Calidus 3pl-Mobile need only be done this way if the Goods had not been preadvised via EDI. In this process, all messages will be automatically sent to Calidus 3pl-Mobile on receipt of the EDI.
Once pallets have been received on Calidus 3pl-Mobile and sent back to Calidus 3pl they will automatically be updated.
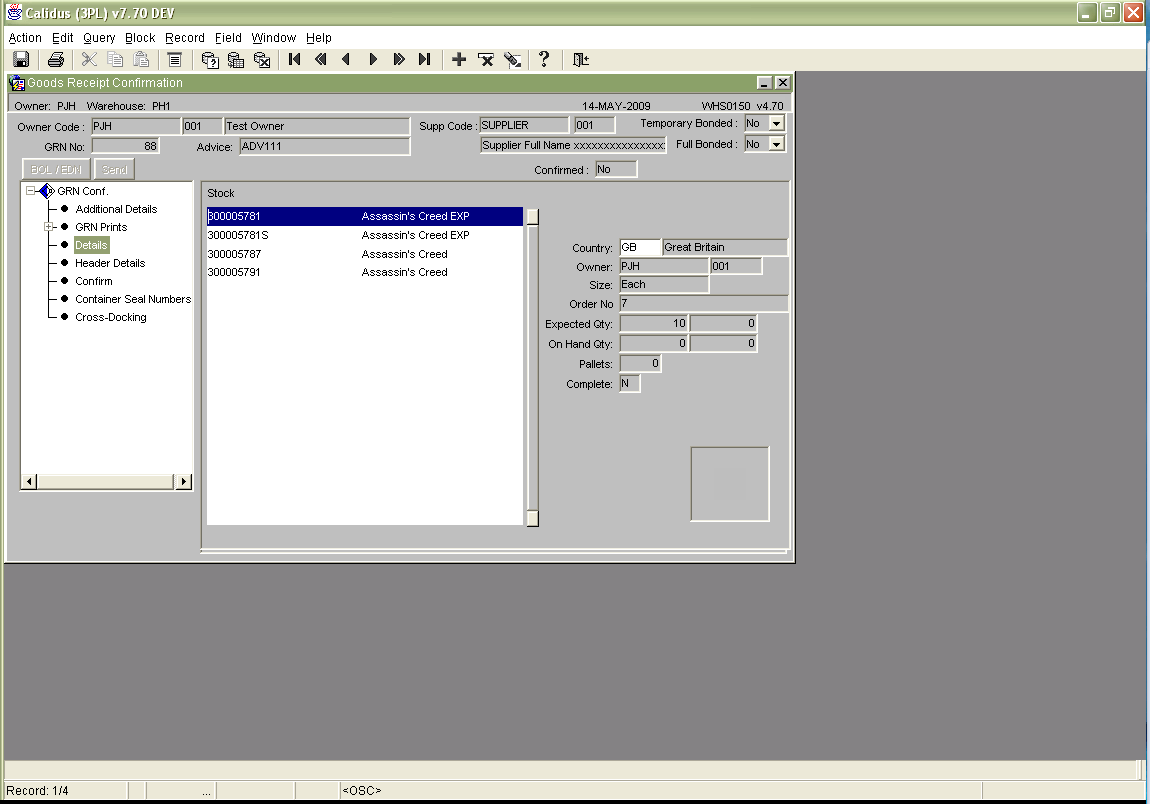
Note: In unexpected scenarios (e.g. unexpectedly received pallets) the Goods Receipt Note will NOT be automatically confirmed as received. The pallets, which have processed correctly, will have been confirmed but no action will have been taken on other pallets. You will still be able to put the correctly processed pallets away. In order to confirm the GRN fully, you must access the GR Confirmation screen and use the Confirm process there. Until this action is taken, the GRN will continue to appear on diagnostic reports. See section 5.2 for more details.
Putaways
When the Goods Receipt has been processed on Calidus 3pl-Mobile, update messages are sent back to Calidus 3pl. The Pallet Receipt Update program, controlled by the RDT Start/Stop screen processes these. When the program processes the receipt messages, it will generate a putaway location for the pallet automatically. This is sent through to Calidus 3pl-Mobile as a putaway task.
If a location cannot be found for the pallet, the putaway location will default to the third build-up location on system parameters, the Q/A location.
If, however, you have the availability flag of the Pallet Receipt Update process set to 'N' and the flag for Movement/Putaway Update process set to 'Y', you can send putaway messages a different way.
When the flags are set up this way, preadvice messages can't be sent to WCS, but putaway messages can. When you have created the goods receipt in Calidus 3pl, enter locations as normal in Goods receipt confirmation.
When the 'Confirm' option is chosen, the receipt is confirmed and then putaway messages are sent to Calidus 3pl-Mobile, with the locations that you specified.
Once the putaway messages have been processed, the pallets will be available in the system.
Pallet Moves
Pallet movements sent to Calidus 3pl-Mobile are processed in almost exactly the same way as normal. Pallet movements are raised via the Pallet Movement Request screen as normal. In the Ticket Print screen, you will be prompted for two extra items:
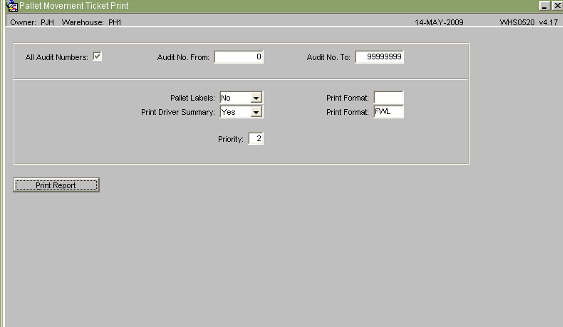 If you do not want to print the move ticket, enter 'No' at the appropriate prompt. You must then enter a priority for the messages. This priority will indicate how quickly the messages are processed in Calidus 3pl-Mobile. The values range from 2 (the highest) to 9 (the lowest).
After this entry, the request is processed as normal, but with movement messages being sent to Calidus 3pl-Mobile.
Replens
Replenishments are processed in the same way as pallet movements.
Picks
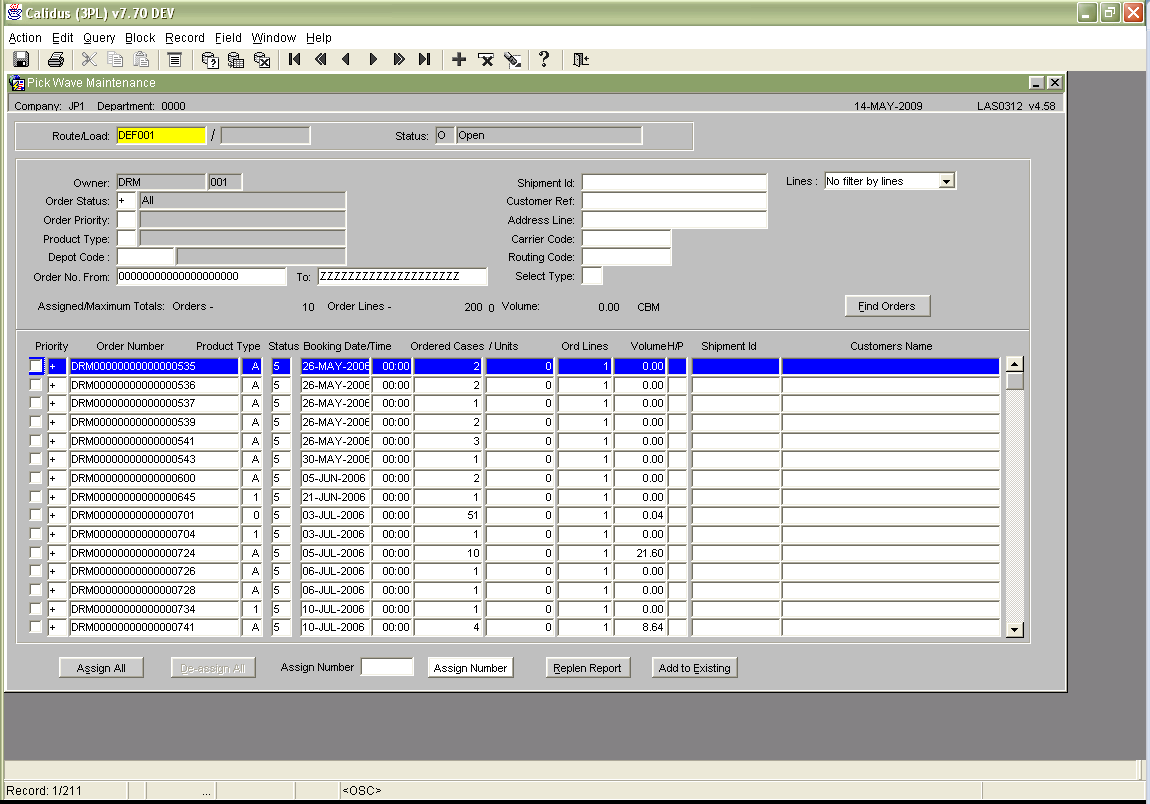
Pick tasks are sent to the RDTs at the normal pick list stage. This stage can be reached through a number of screens, the most common being the Pick Wave screen.
Pick Wave
Orders can be found and allocated to a Pick Wave, using this screen.
Enter a default load then click 'Find Orders' to display the orders. Criteria can be entered here to narrow down the orders to be found.
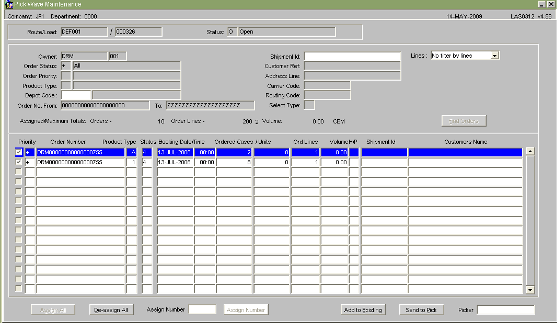
Once found, assign the orders to the Load using the check box next to the order, then save.
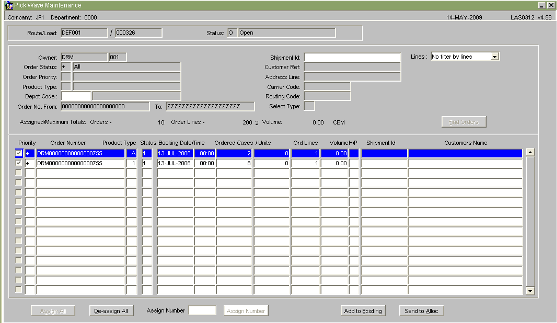 Click the 'Send to Alloc' button to allocate the load.
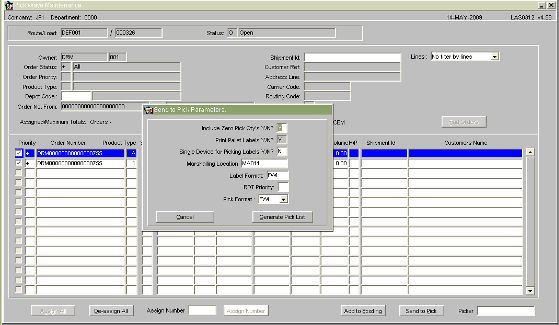
Once allocation is complete, the order can be pick listed using the 'Send To Pick' button.
If the load is to be pre-assigned to one picker, the employee ID of this picker can be entered in the Picker field before sending to pick.
The Marshalling location is the lane to which you wish the picked pallets to go. If one is not entered, the system will default the location to the Default Marshalling Location in the system parameters screen. The RDT priority affects how quickly the pick tasks will be allocated to a picker. As with other RDT process priorities, this can be set from 2 to 9, 2 being the highest priority.
When you have chosen the parameters, click the 'Generate Pick List' button. This will produce a paper pick list if desired, and will also transfer the pick tasks to Calidus 3pl-Mobile for completion.
Pick List
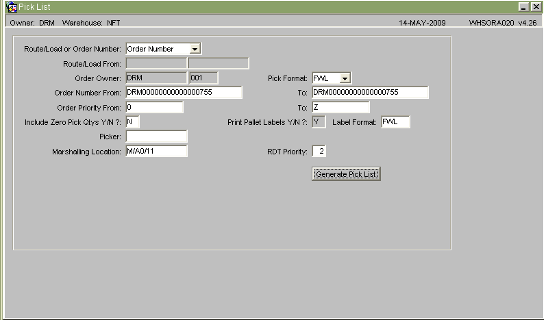
If you allocate and pick list by separate processes in the menus, you will be prompted to enter the extra parameters at the Pick List stage:
The Marshalling location is the lane to which you wish the picked pallets to go. If one is not entered, the system will default the location to the Default Marshalling Location in the system parameters screen. The RDT priority affects how quickly the pick tasks will be allocated to a picker. As with other RDT process priorities, this can be set from 2 to 9, 2 being the highest priority.
When you have chosen the parameters, click the 'Generate Pick List' button. This will produce a paper pick list if desired, and will also transfer the pick tasks to Calidus 3pl-Mobile for completion.
Pick Modifications
If you have short-picked an item or the pickers have not found some pallets, these tasks will be sent back to Calidus 3pl, and will reduce the amount picked. The shortfall must be appended onto the order. This is achieved by adding lines at pick confirmation, but without confirming the order.
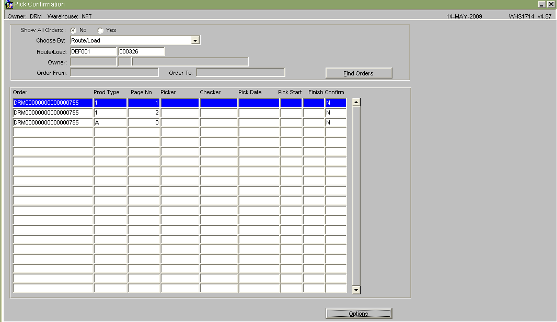
First, find the order in the Pick confirmation by route/load/order screen:
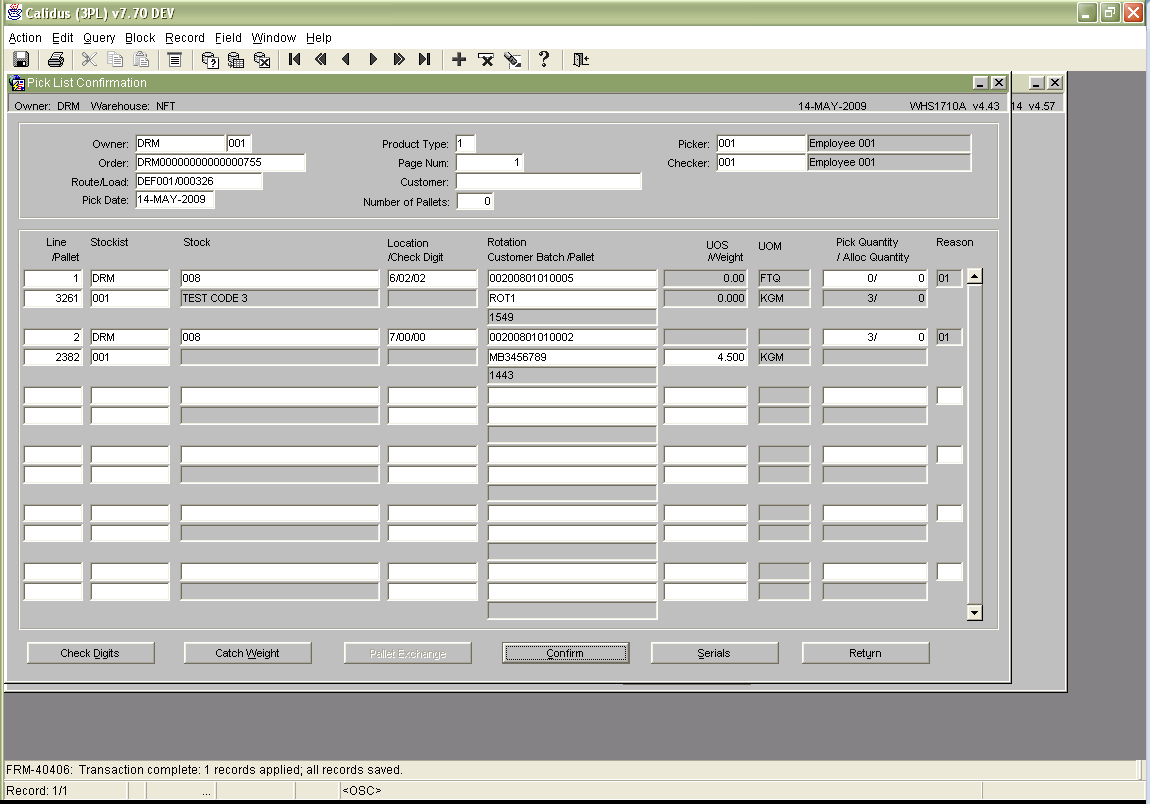
Select the required page of the order. You will be taken to the confirm screen.
From here, append lines to the order as normal, but do not confirm the page. When saved, the appended pick task will be sent to Calidus 3pl-Mobile for processing. When completed, the task will be returned and updated automatically by Calidus 3pl.
Pick tasks that have been manually short-picked or confirmed will also be interfaced to Calidus 3pl-Mobile, to reduce or remove the pick tasks outstanding.
Stock Check
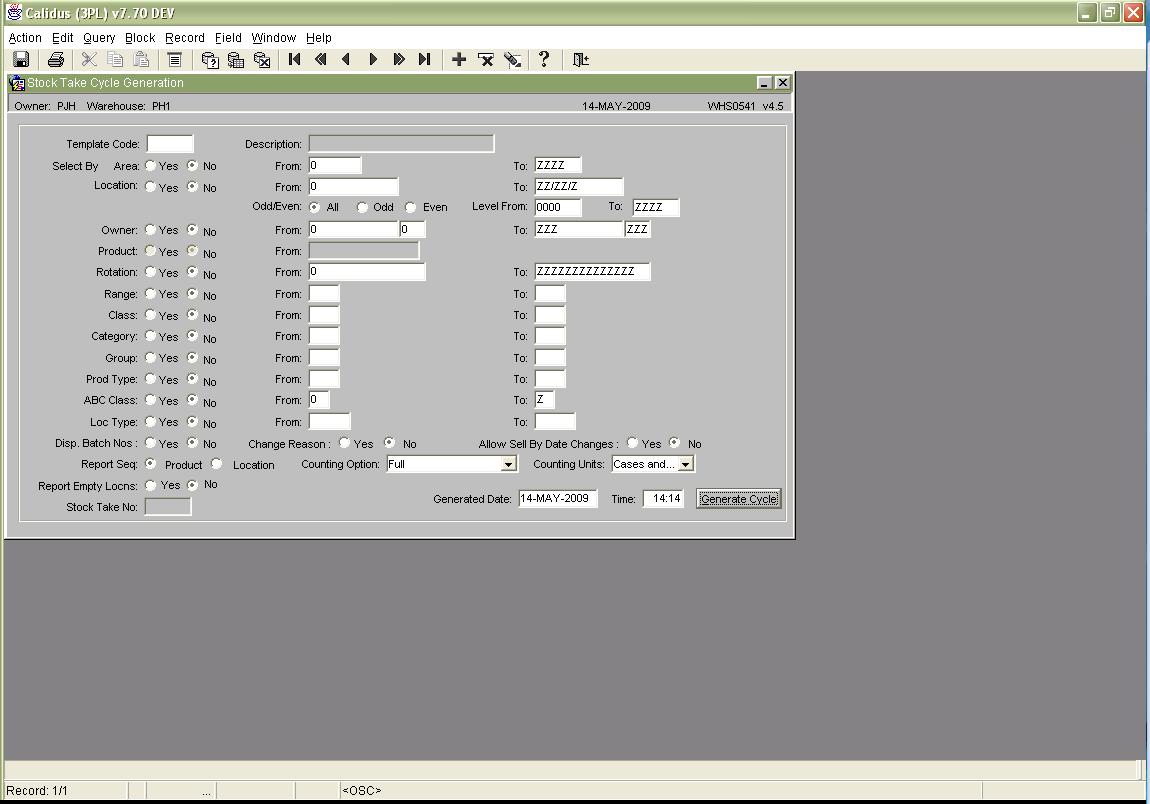
Generate the stock check cycle as normal in the generation screen. For messages to be sent to Calidus 3pl-Mobile, the interface flag (either from owner or system parameters) must be set, and the stock check availability flag and owner check flags must also be set in the RDT start/stop screen.
The cycle will either be a full stock check or a partial stock check. If neither, the stock check will be assumed to be a partial, or pre-advised, check.
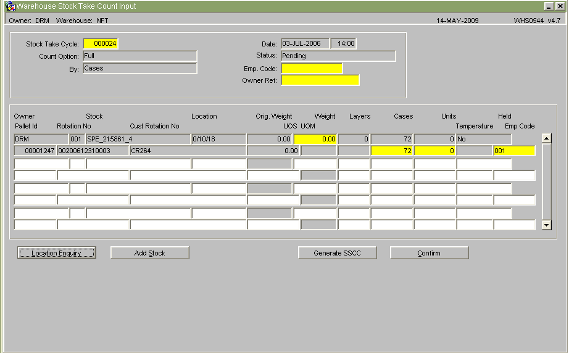
Once stock details have been checked on the RDTs, the information is sent back to Calidus 3pl and updated into the stock take count input screen.
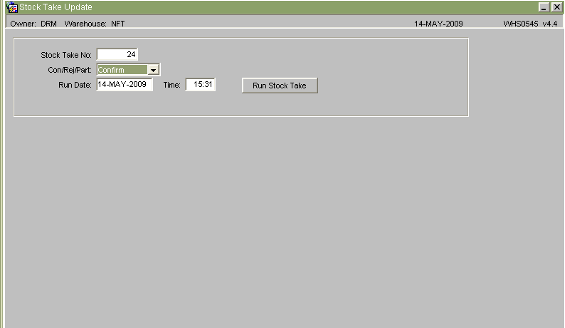
Once the data is checked for consistency, the cycle can be confirmed (using the 'Confirm' button), making it ready for updating, using the Stock Take Update screen.
Good counts should be confirmed. If unsure about the counts, the cycle can be rejected or partially confirmed. In a partial confirmation, any records that were correct are confirmed, and any with modifications are left on the stock cycle.
Receiving Procedures
Receipt Transaction Exceptions
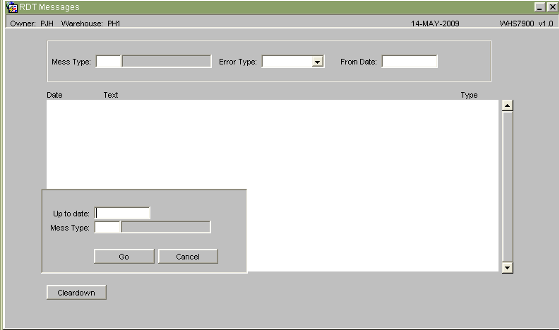
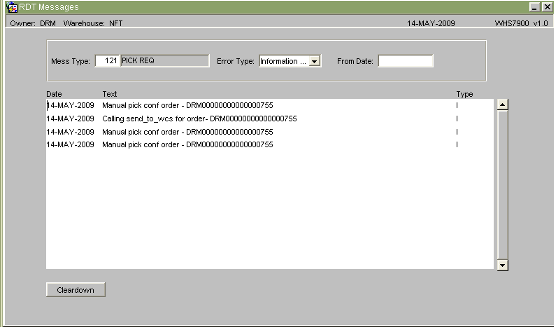 Message types allow you to choose which processes' messages you want to see on the report. A full list will be shown.
The error type allows you to choose from a range of message levels:
- Informational (type 'I') - Some processes write away messages to the report, showing successful completion of update. These are informational messages.
- Warning (type 'W') - Warnings show data that may need to be fixed, but the line has been updated anyway.
- Error (type 'E') - Errors show records that cannot be updated. The reason will be shown in the description. Data with errors must be entered and updated manually through the normal manual update screens.
- Debug messages (for support)
- All (type 'A') - All of the above.
You are prompted to choose a Date From. This will default to today's date.
The 'Cleardown' button shows the parameters required so that the exceptions log can be cleared. This should be done on a regular basis. By default, no clear-down is done. If you choose to do the clear-down, you are prompted to enter a date. All data before this data will be deleted. Take care using this function as, once deleted, the exceptions data cannot be recovered.
Diagnostics processes
In addition to the above report, several diagnostics reports exist that will aid in identifying possible problems:
- For GRNs:
- GRN's not putaway confirmed
- GR Discrepancies Report
- GRN's advised not confirmed
- For Orders:
- Order (status) report
- Unconfirmed Orders
- Unconfirmed Pick Pages Report
- For Moves:
- Unconfirmed Movements
- Outstanding Movements Report
Additionally, the Data Extraction Suite allows the user to design reports to examine all of this data.
Various enquiries exist in the system, which will also aid identification:
- All stock movements enquiries
- Customer Pallet ID Enquiry
- Pallet Enquiry
- Order Enquiry
