WHS0150: Difference between revisions
No edit summary |
No edit summary |
||
| Line 8: | Line 8: | ||
The BOL/EDN button will only be enabled if the container information as been entered via the BOL/EDN button at pre advice. Similar to pre advice, if RF is to be used to process the goods receipt, the Send button will be enabled to send the GR information to the RF system. | The BOL/EDN button will only be enabled if the container information as been entered via the BOL/EDN button at pre advice. Similar to pre-advice, if RF is to be used to process the goods receipt, the Send button will be enabled to send the GR information to the RF system. | ||
The box on the left will take the user into additional screens and reports. | The box on the left will take the user into additional screens and reports. | ||
Revision as of 10:36, 1 October 2009
Goods Receipt Confirmation Header (WHS0150)
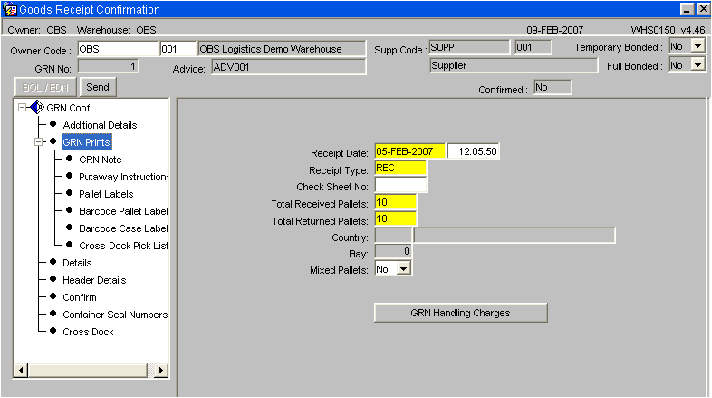
If automatic putaway is not being used, the goods must be allocated locations within the warehouse. If using auto putaway, the system will automatically suggest locations. This screen confirms the header information for the GRN and confirms how many pallets have been received.
The BOL/EDN button will only be enabled if the container information as been entered via the BOL/EDN button at pre advice. Similar to pre-advice, if RF is to be used to process the goods receipt, the Send button will be enabled to send the GR information to the RF system.
The box on the left will take the user into additional screens and reports.
Field Information:
- The Receipt date and time will default to the Pre-Advice date or can be manually entered.
- Receipt Type: This must be manually entered. Indicates the receipt type. The standard receipt type is ‘REC’ or ‘RET’
- Check Sheet No: If required, a check sheet number can be entered here for returns.
- Total Received and Total Returned Pallets: used to indicate the number of physical pallets received. Will default to the number of pallets entered at pre advice.
- Country: If populated by the client specific commercial invoice, the country of origin for the receipt will be populated here
- Bay: If bay number is required, enter the warehouse bay number that the goods will be received into.
- Mixed Pallets: Determines whether the goods are being received with mixed stock codes on a pallet.
- The GRN Handling Charges button will enable the user to enter invoicing information for the GRN.
Goods Receipt Confirmation Header Options (WHS0150)
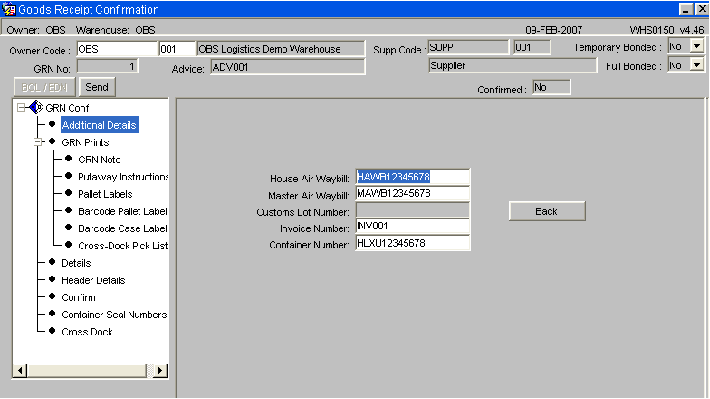
From this screen, the box on the left will give the user the options to go into various other screens and reports.
Above screen shot: This gives the user the option to enter waybill information.
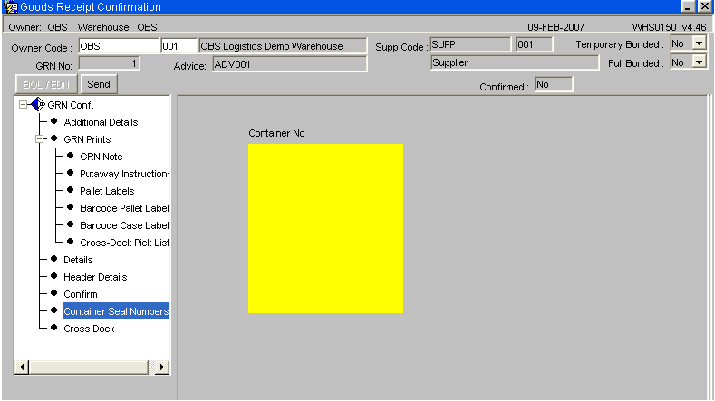
Above screen shot: This gives the user the option to enter shipment seal numbers for the containers.
Note:
- The GRN Prints option will display all reports that can be printed from this screen. Clicking on one of these options will take the user through the printing process.
- The Cross Docking option will allocate any stock outstanding on orders directly from this GRN.
- The Details option will take the user through to the stock code level confirmation details. This is described in the following page.
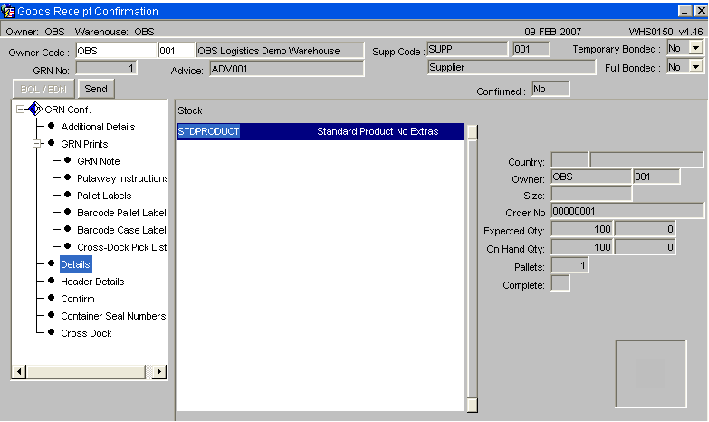
Once the user has clicked the Details option from the box on the left, the following screen will display with all stock codes expected on this GRN. The stock codes will be sorted in alpha numerical sequence. To enter confirmation details for their relevant product, the user must highlight the specific stock code.
Note:
- In order to enter confirmation details, the user has to right click the mouse on the stock code field as displayed in this picture.
- Pallet Details: This is the option that must be entered to manually confirm the GRN.
- Text: Allows the user to enter additional text for the GRN prints.
- Handling Charges: Enables the user to enter Receipt invoicing charges.
- Back: Takes the user back to the header screen .
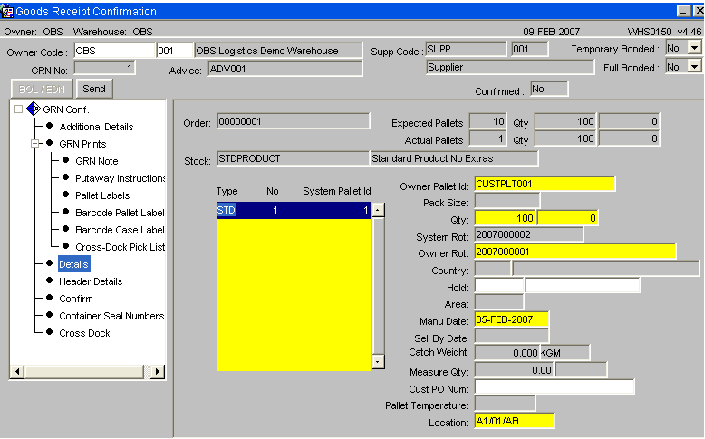
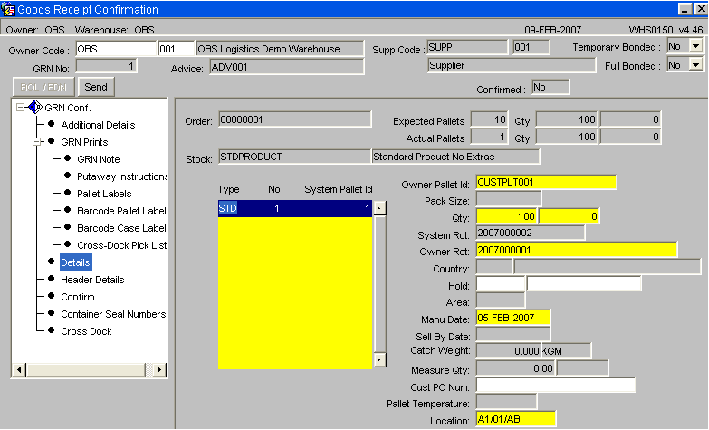
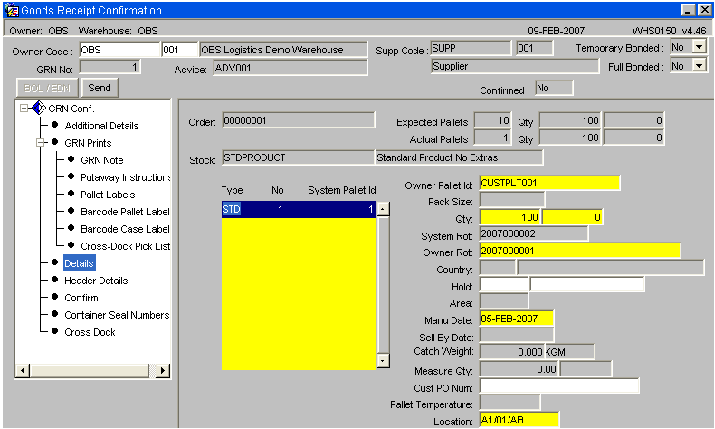
Once the user has right clicked on their selected stock code, the pallet information for the product will be displayed as below. If the user has entered pallet details into the pallets tab at pre advice, the information will default as below in figure 1.
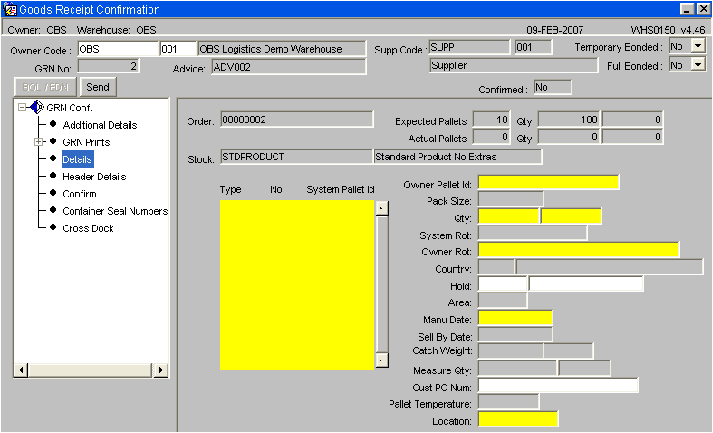
Figure 2 displays the screen shown to the user if no pallet details are entered at pre advice.
Fig 1: Receipt confirmation details with pallet information populated
Fig 2: Receipt confirmation details with no pallet information populated
Note: Tabbing through all fields from Type onwards will default most information as entered at pre advice. However, all can be amended or entered manually.
Field Information:
- Type: This is the pallet type the stock is to be received onto.
- No: This is the number of pallets to be received. If entering more than one pallet, the system will expect the user to book multiple pallets into one location or will give the user the option to let the system generate them (if autoputaway is setup)
- System Pallet Id: If tabbed through, the system will generate the next sequential pallet id. If multiple pallets are to be generated by the system, multiple system pallet id’s will also be generated.
- Owner Pallet Id: If customer pallet references are to be used, this field will be mandatory.
- Pack Size: Determines an additional unit of measure for the stock .
- Qty: Enter the expected number of cases or units to be received, or tab to default to expected at pre advice.
Field Information:
- System Rot: This is the system generated rotation number as is used as a batch number or for FIFO requirements.
- Owner Rot: This is the customer batch number.
- Country: Similar to pre advice, if country of origin information has been entered via invoicing, it will be populated here.
- Hold: If the user wishes to place the pallet on hold, a valid hold reason code must be entered.
- Area: Used for client specific processing, this determines a specific area within the warehouse for the goods to be stored.
- Manu Date: The date the stock was manufactured. Will default to the current system date.
- Sell By Date: If required, enter the sell by date for the stock code.
- Catch Weight: If stock weight is not to be used, the manual weight can be entered .
Once all of the relevant fields have been populated, the line needs to be saved. Once saved, the user must right click on the highlighted line below and choose ‘Back’ from the menu displayed. This will take the user back to the details screen to allow them to continue with more stock codes if required.
The user may either click the Confirm option from the left hand option box from here, or may do it from the previous details screen. The system will then inform the user that the GRN has been confirmed.
Note: If the number of pallets entered at confirmation is different than expected at advice, the user will be shown a warning message asking them if they still wish to confirm.
Field Information:
- Measure Qty: If a different unit of measure to the one set up against stock maintenance is to be used, the quantity must be entered here.
- Cust PO Num: A client specific reference number up to 20 characters may be entered for the pallet.
- Pallet Temperature: This field will only be enabled if freezing details are required. Enter the temperature of the pallet.
- Location: Enter the location code the goods are to be received into. An LOV here will list Available, Empty or All locations within the warehouse for the entered pallet type. If Auto-Putaway is used then an available location will be shown based on a number of parameters set-up against the Stock code.
